Treatment of a French mirror’s gilt frame
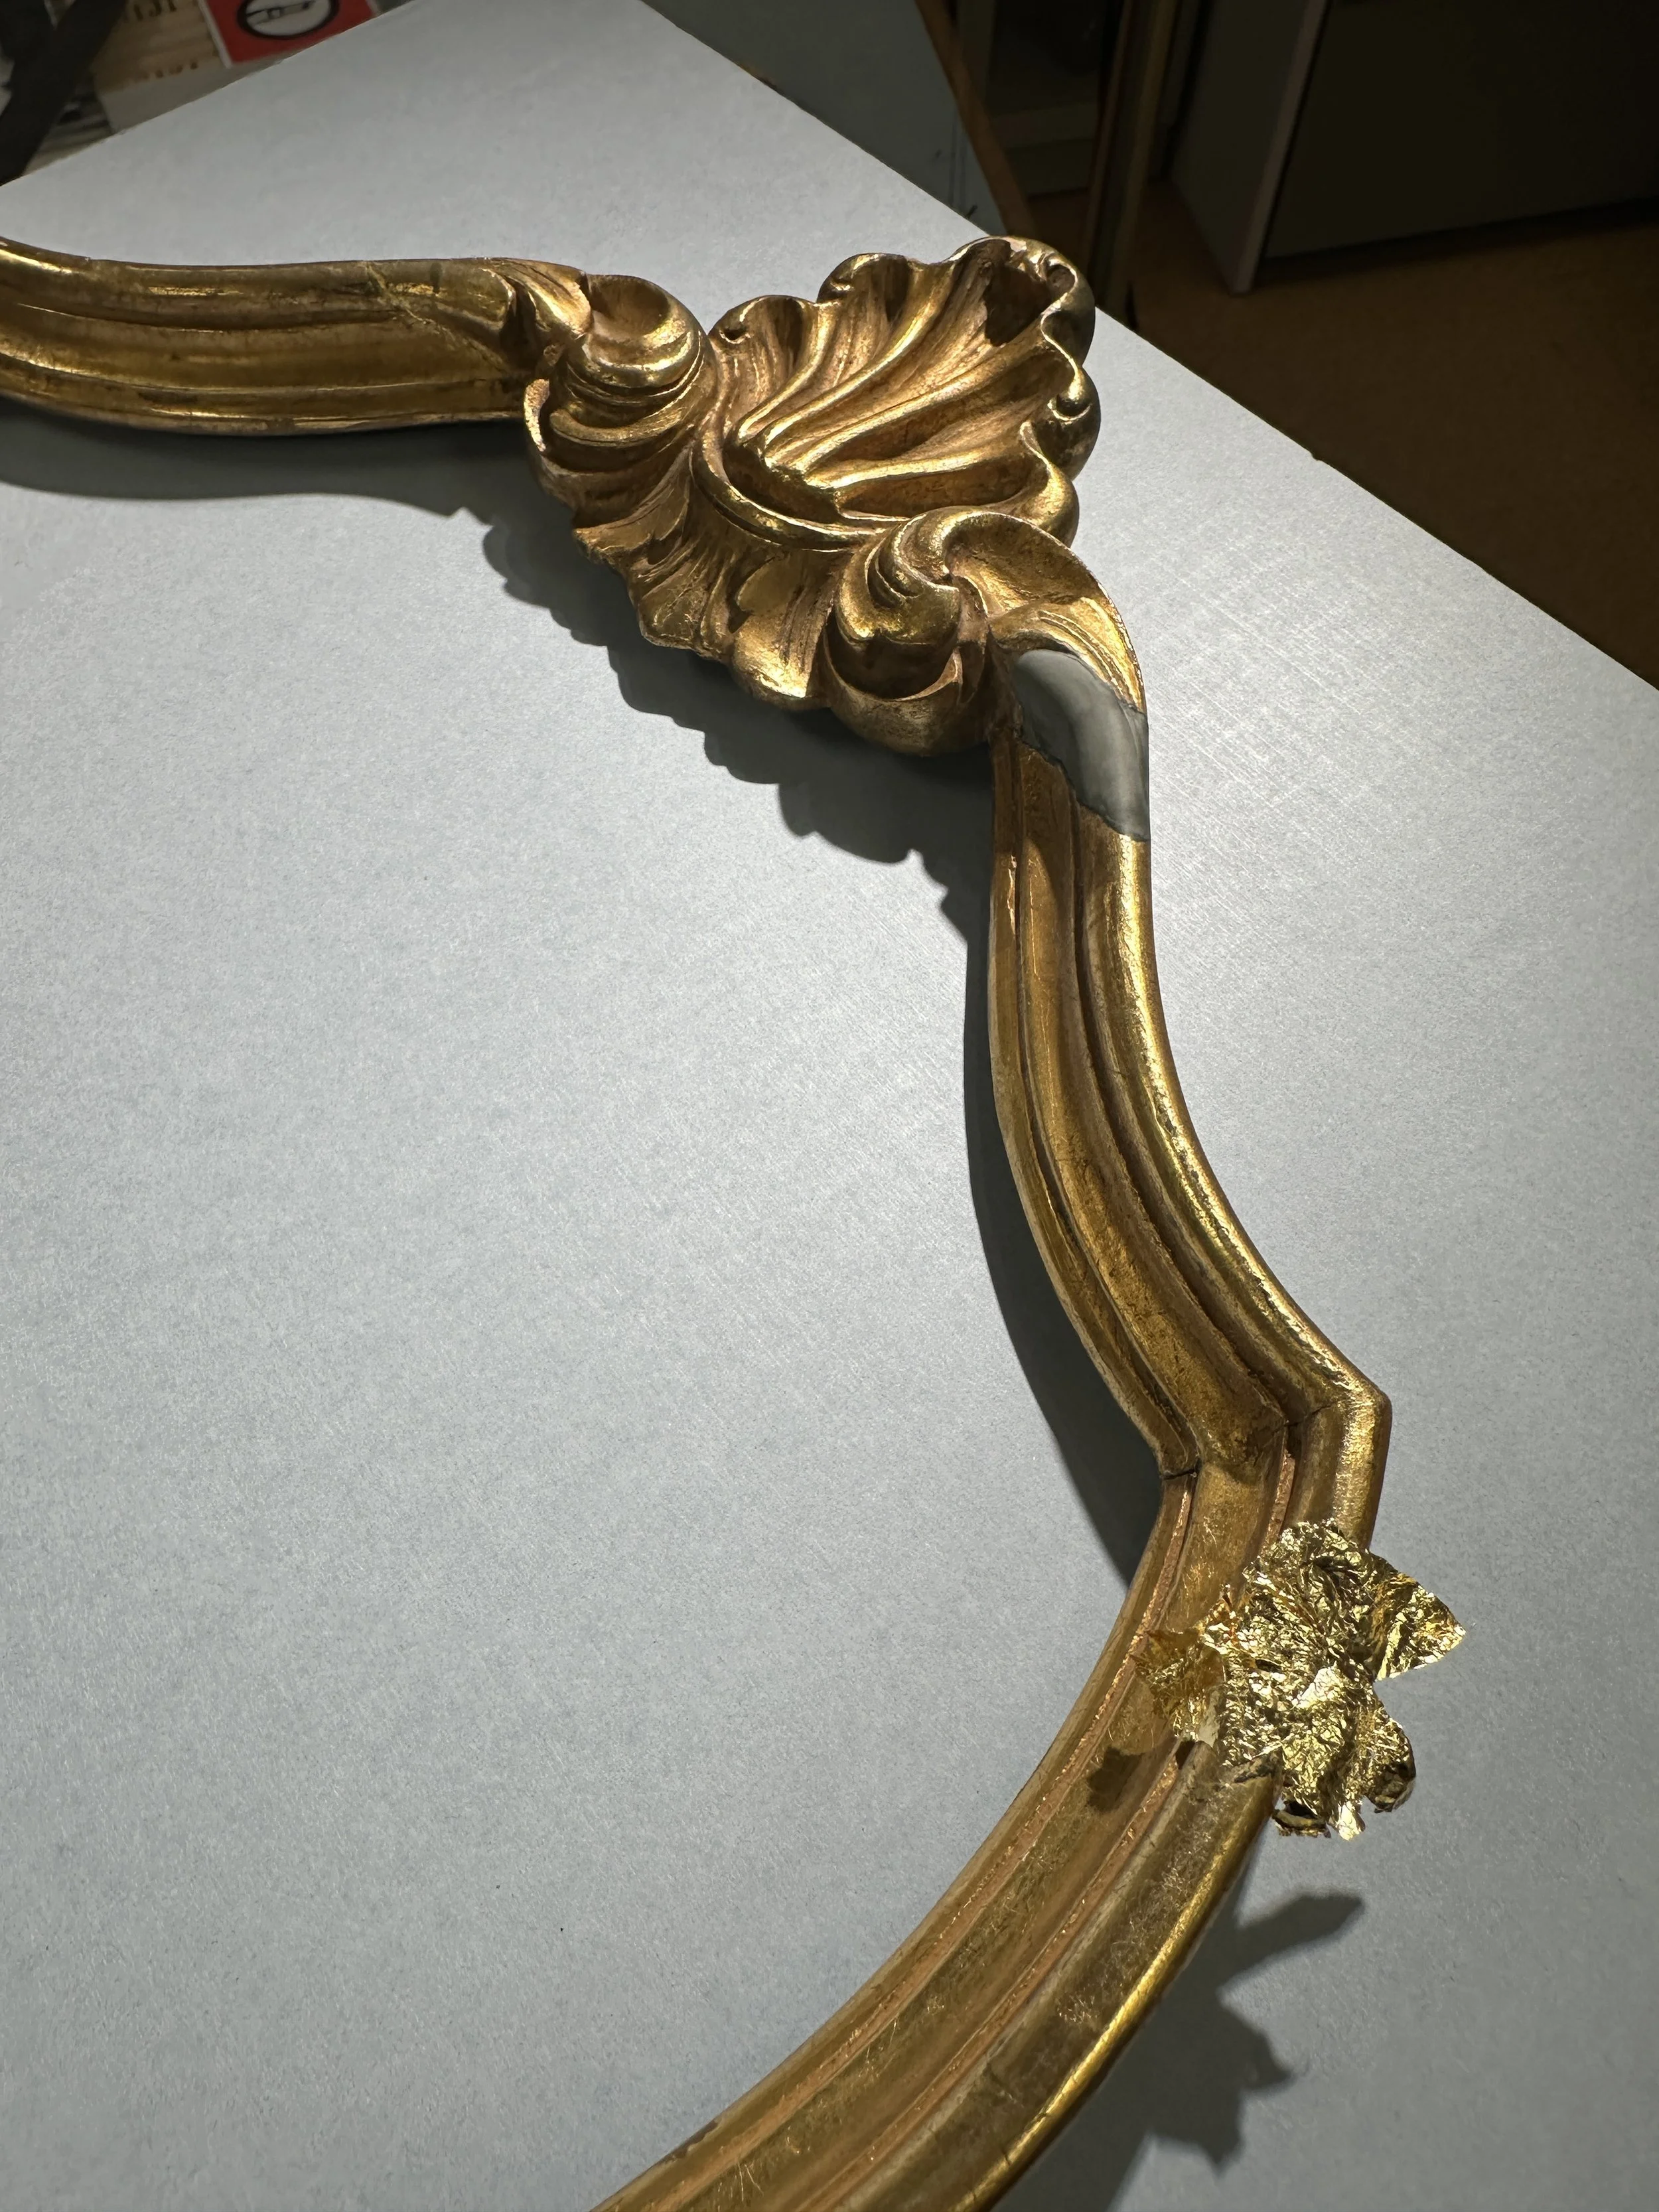
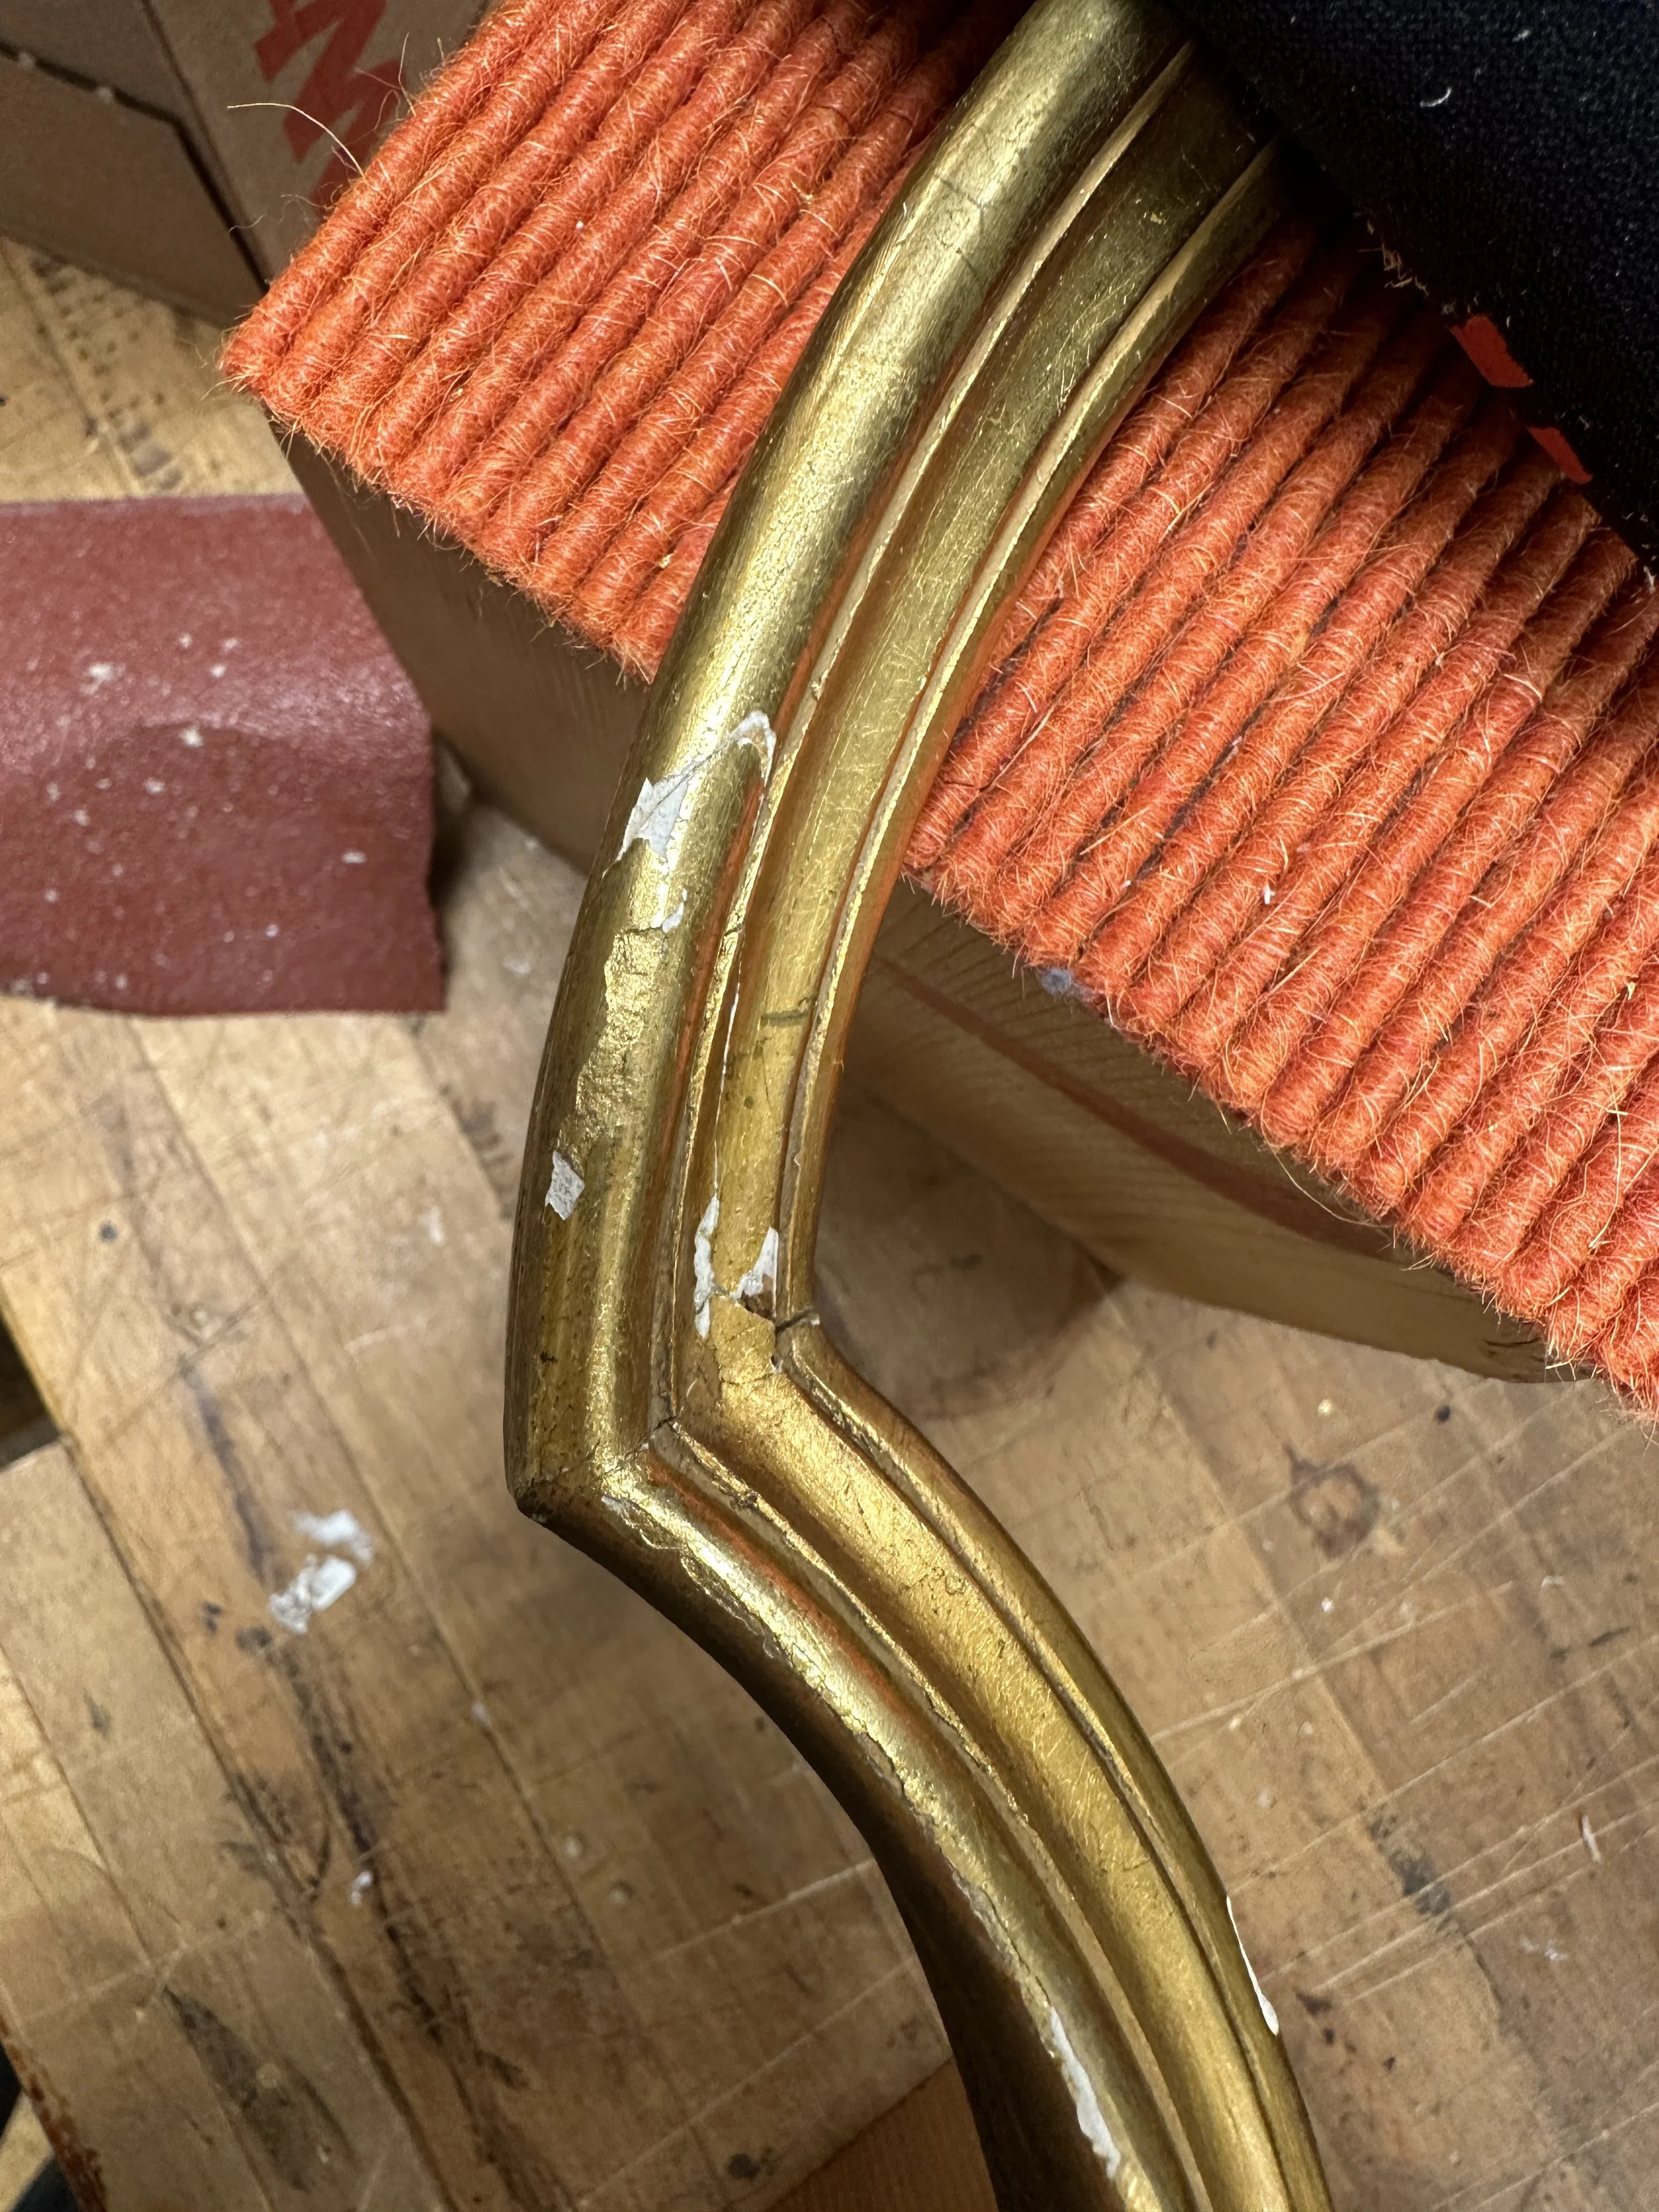
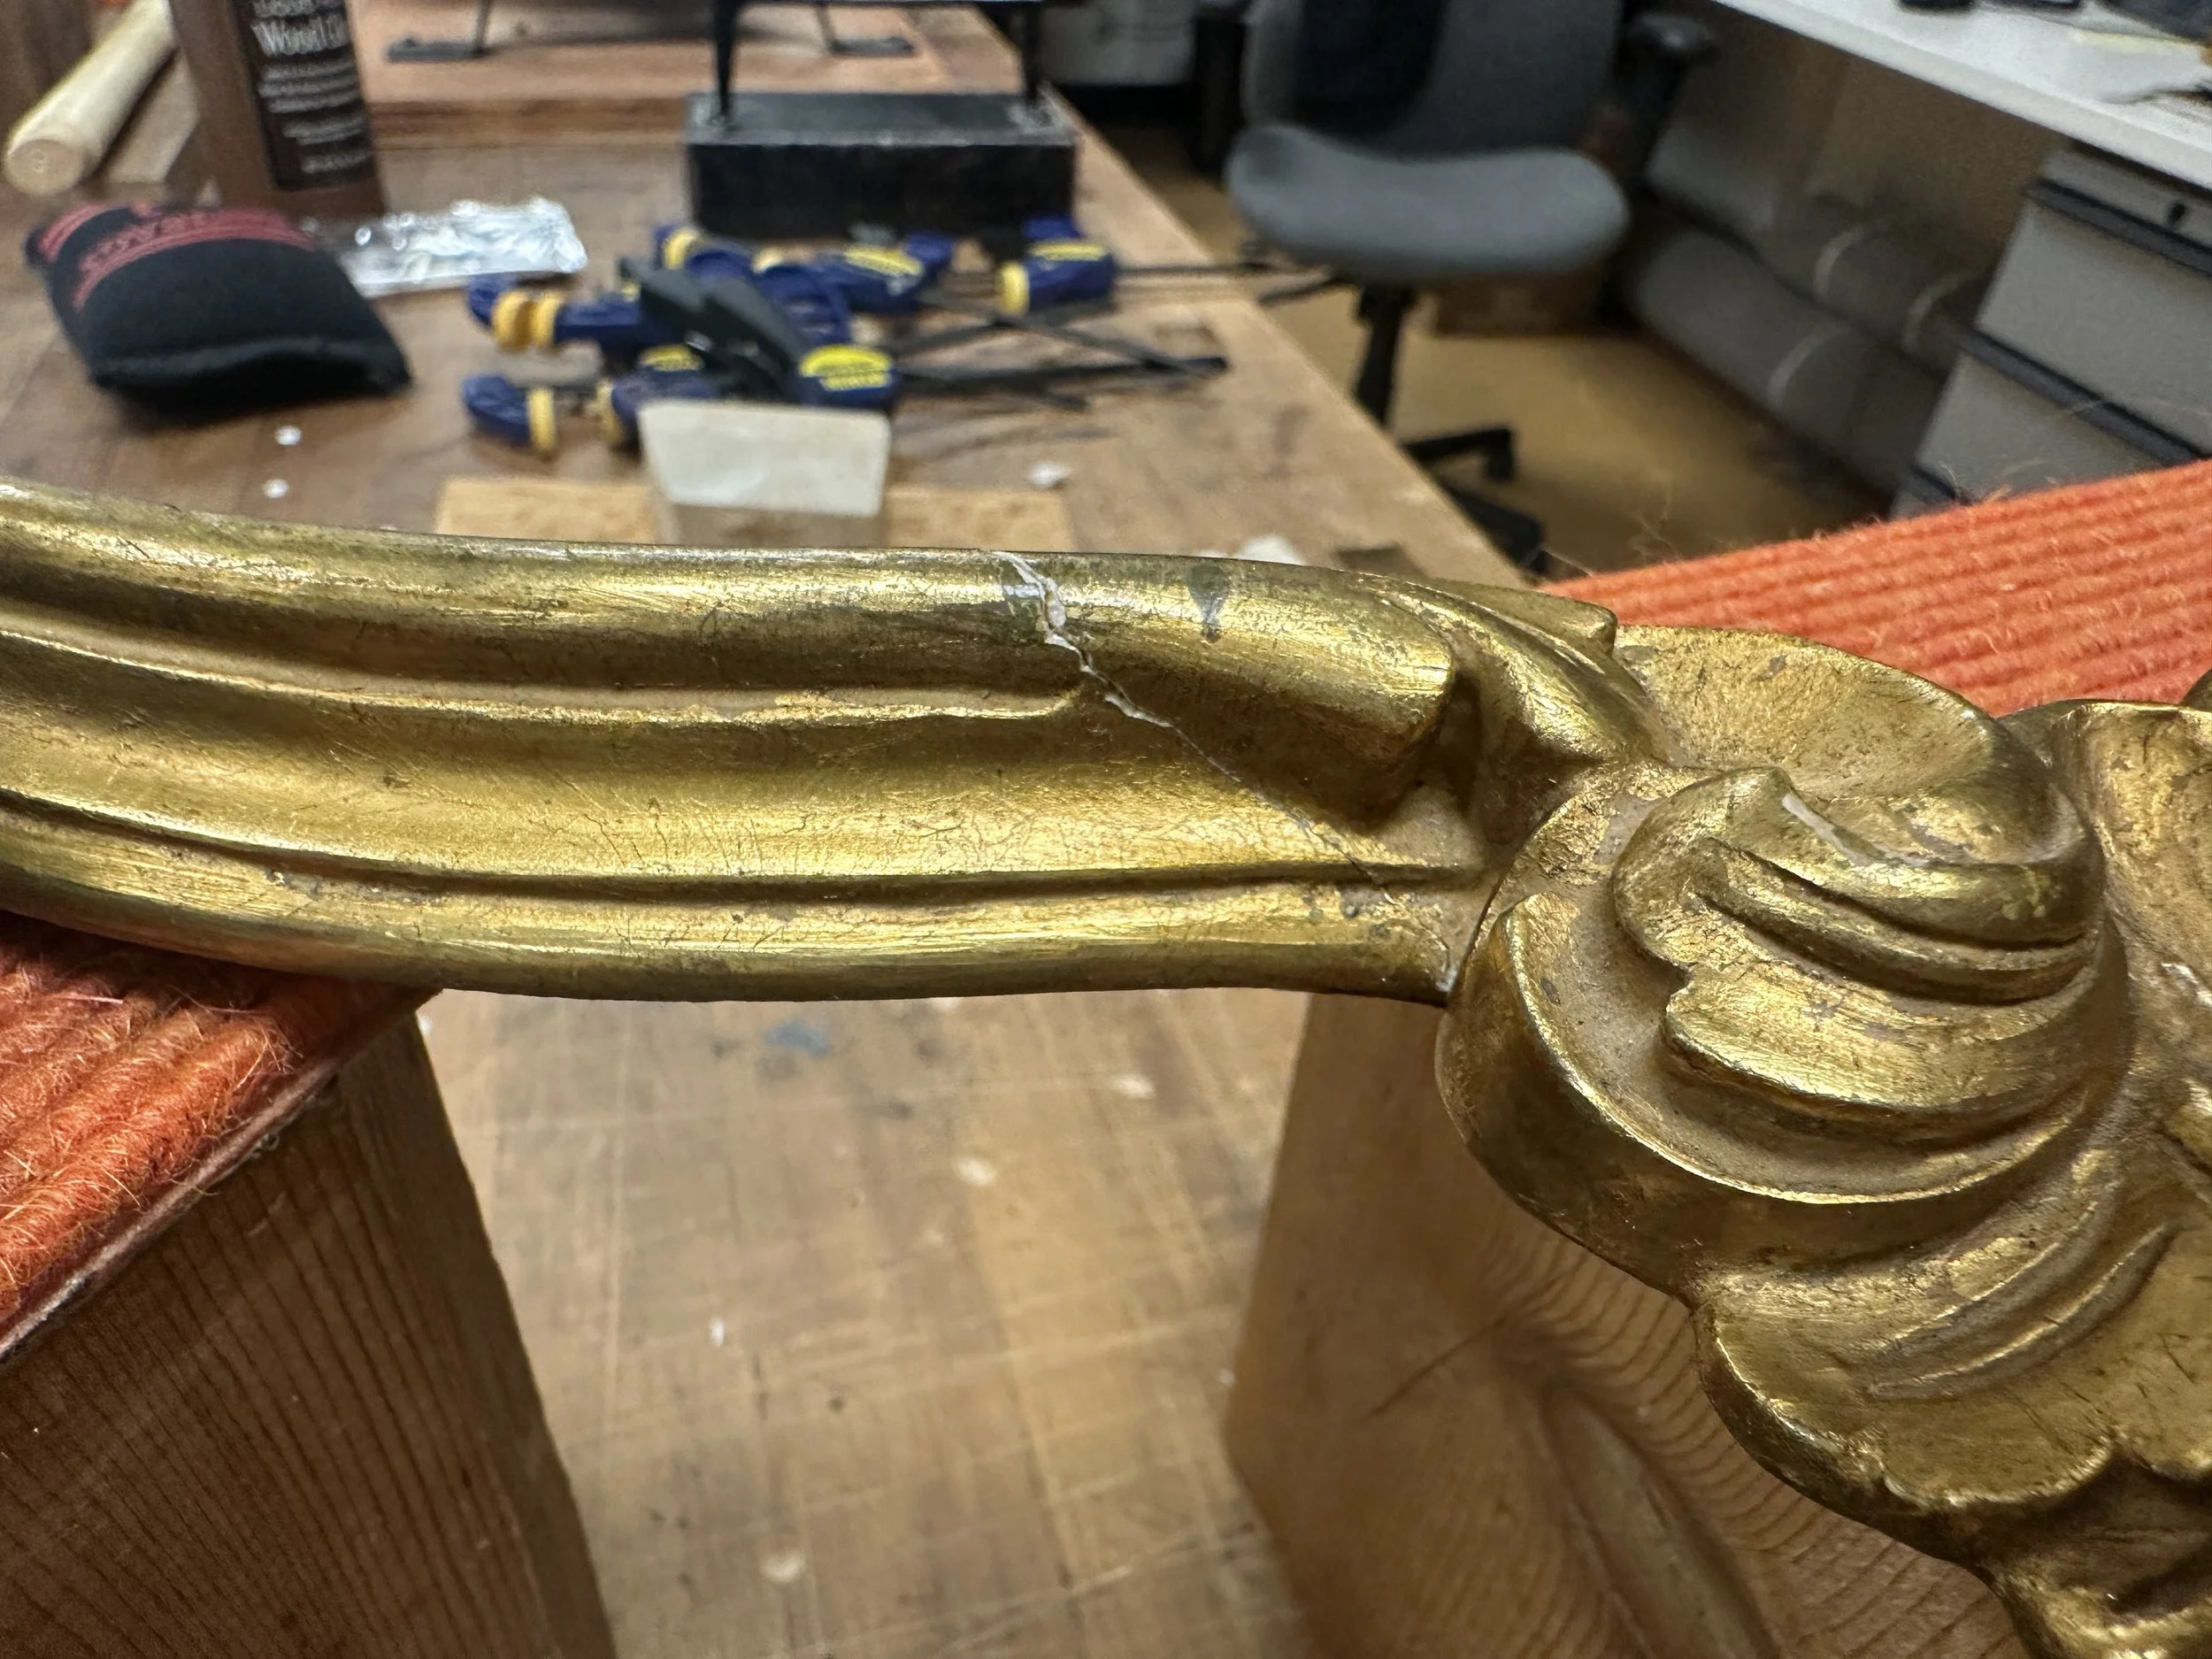
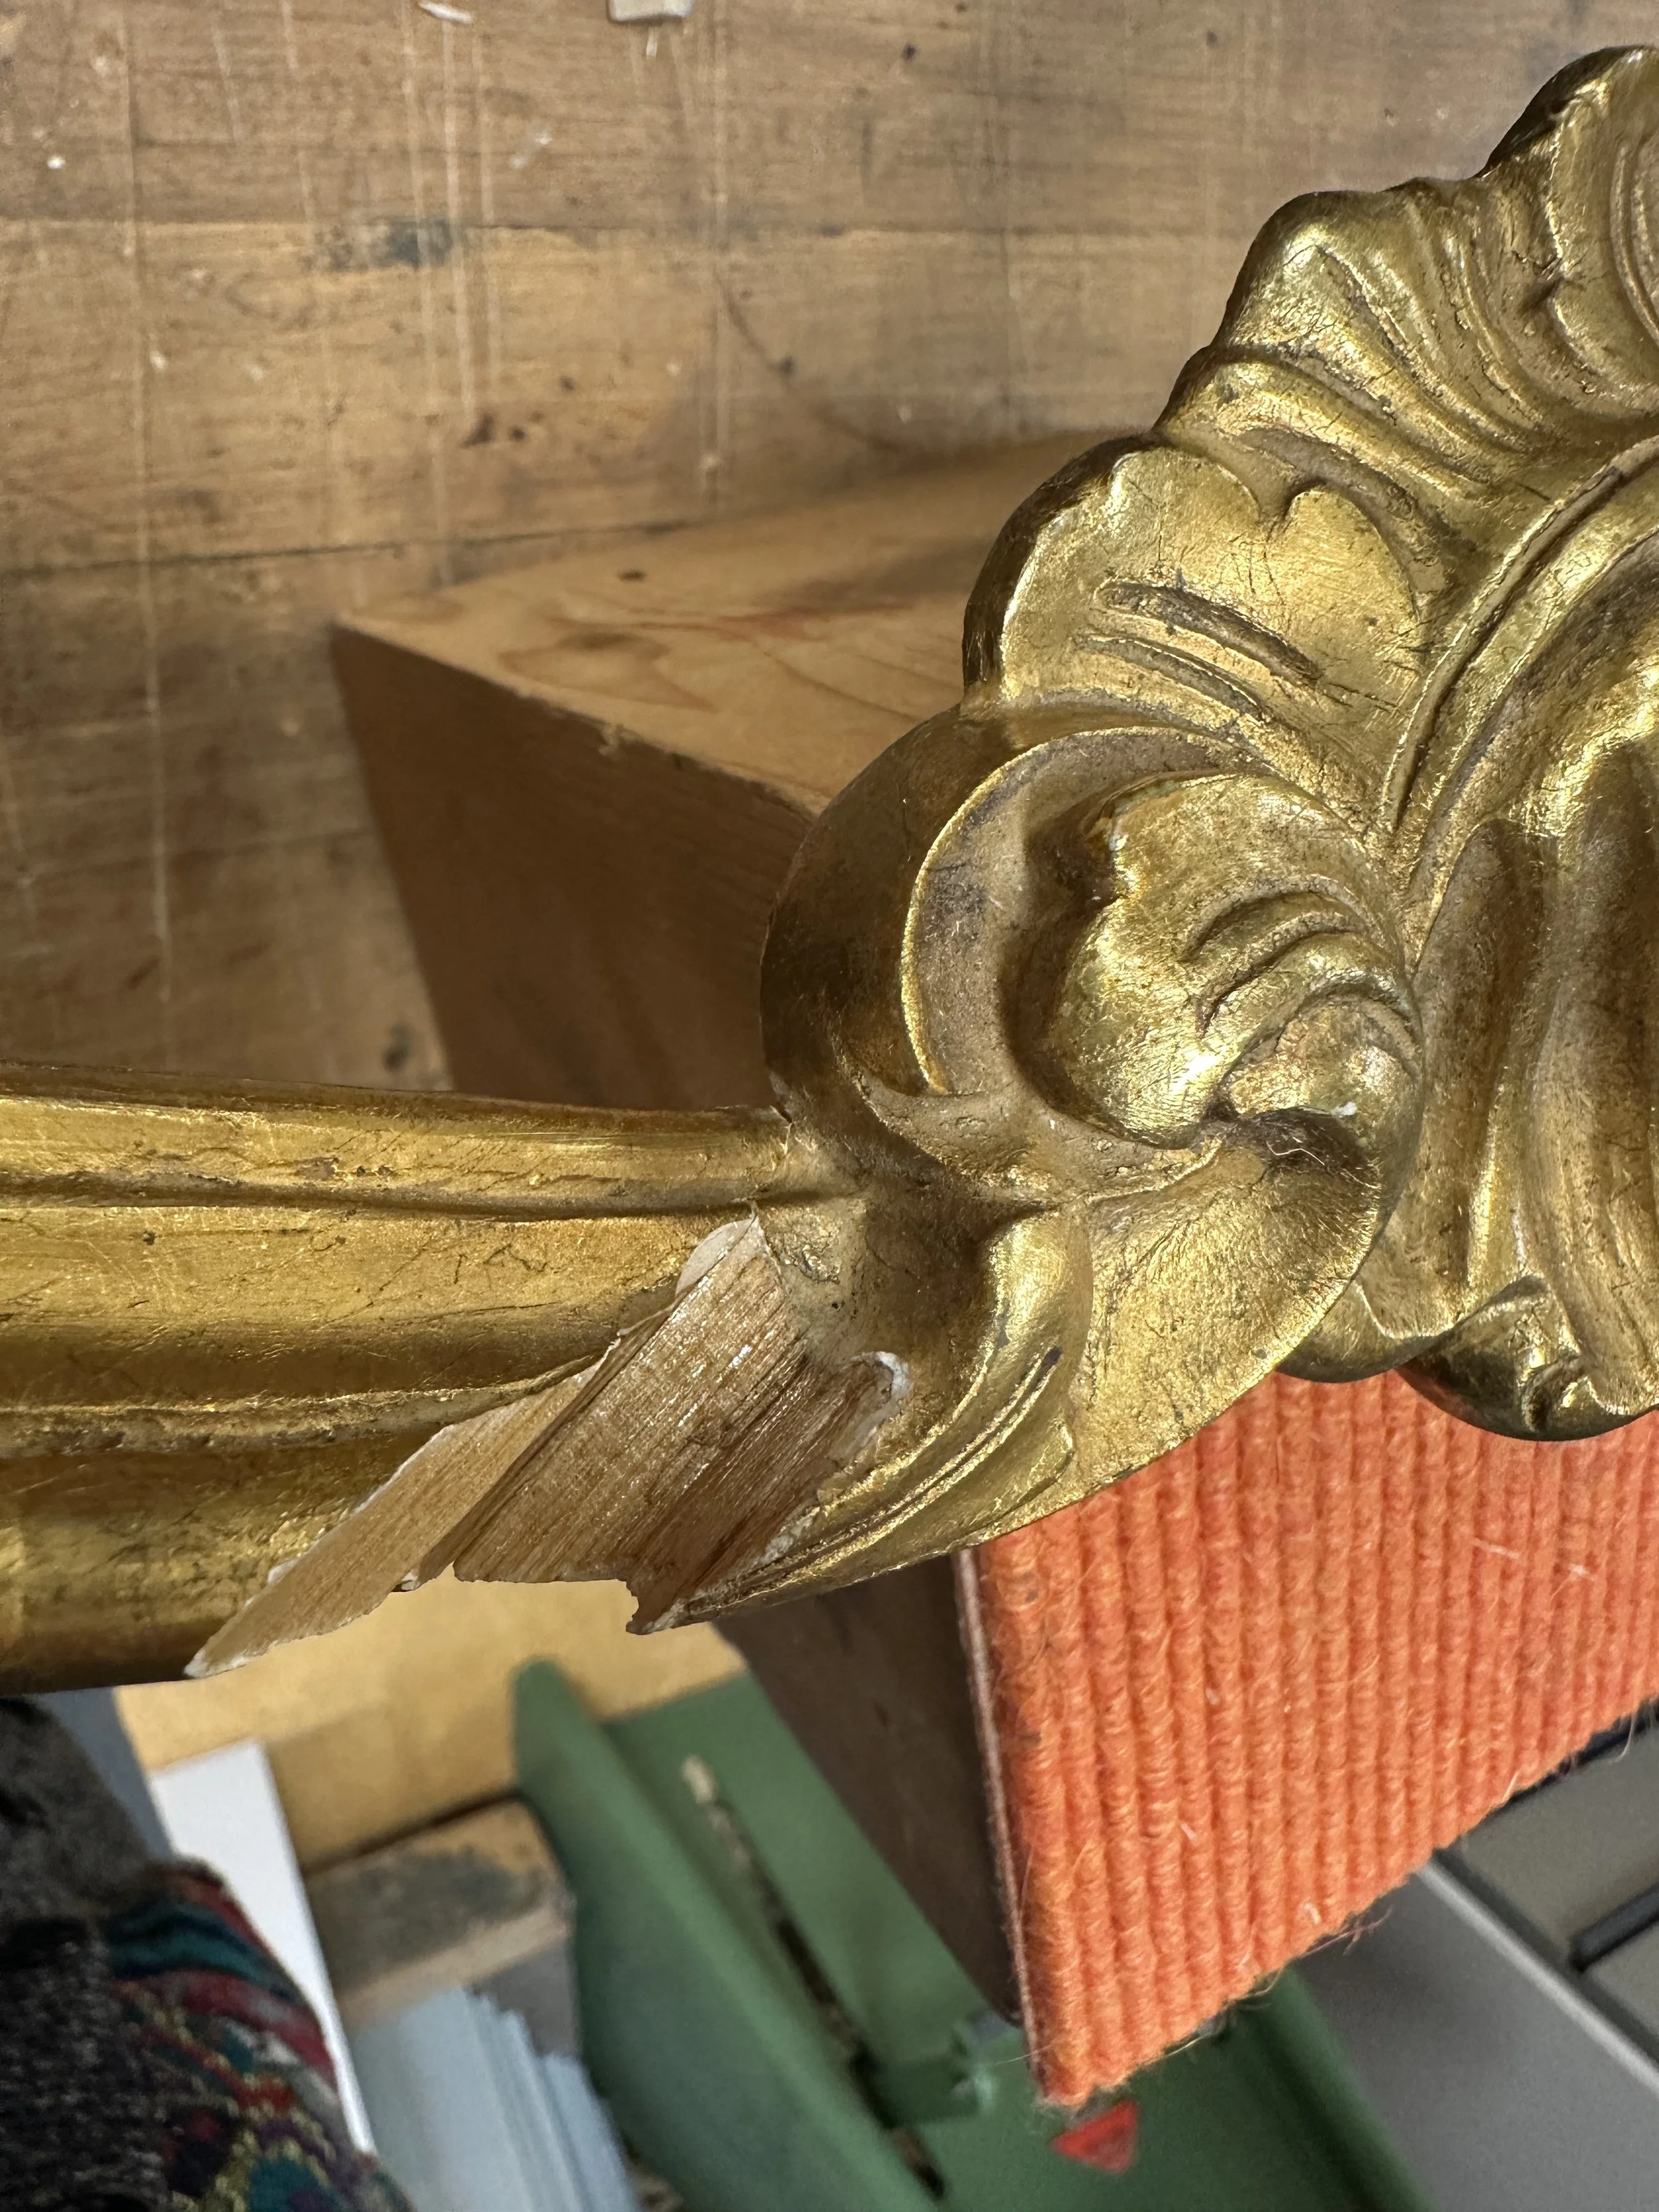
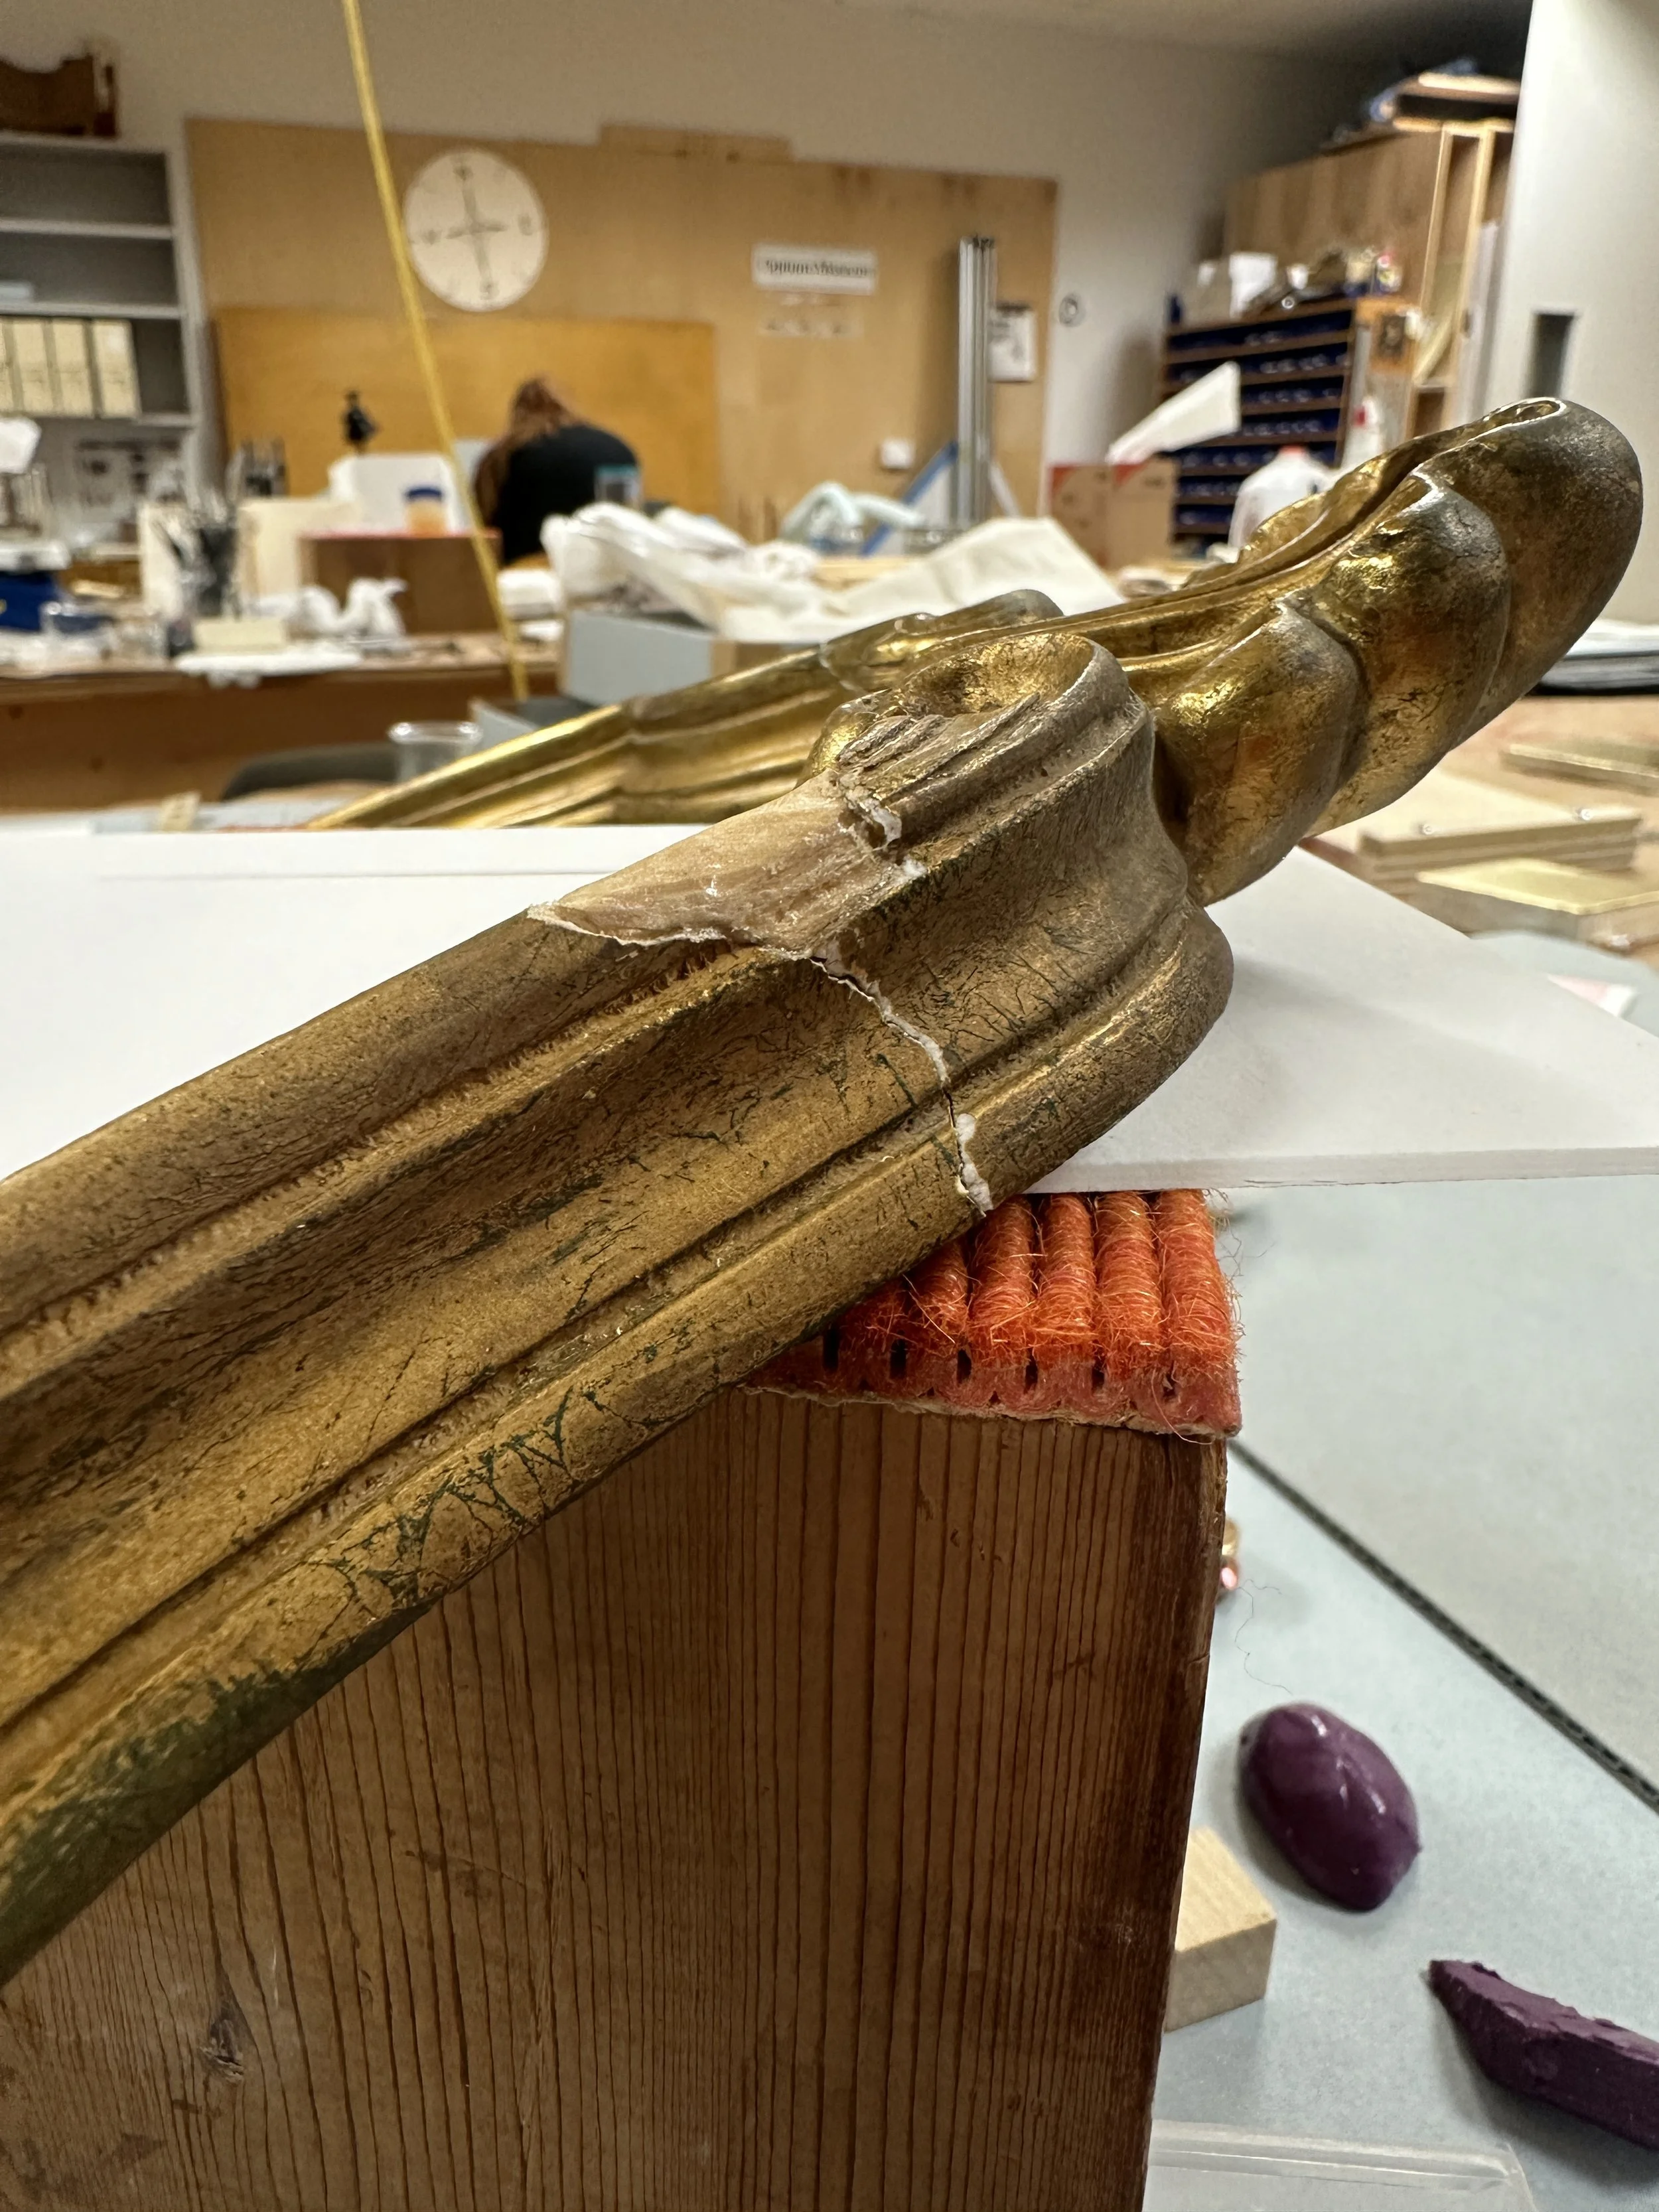
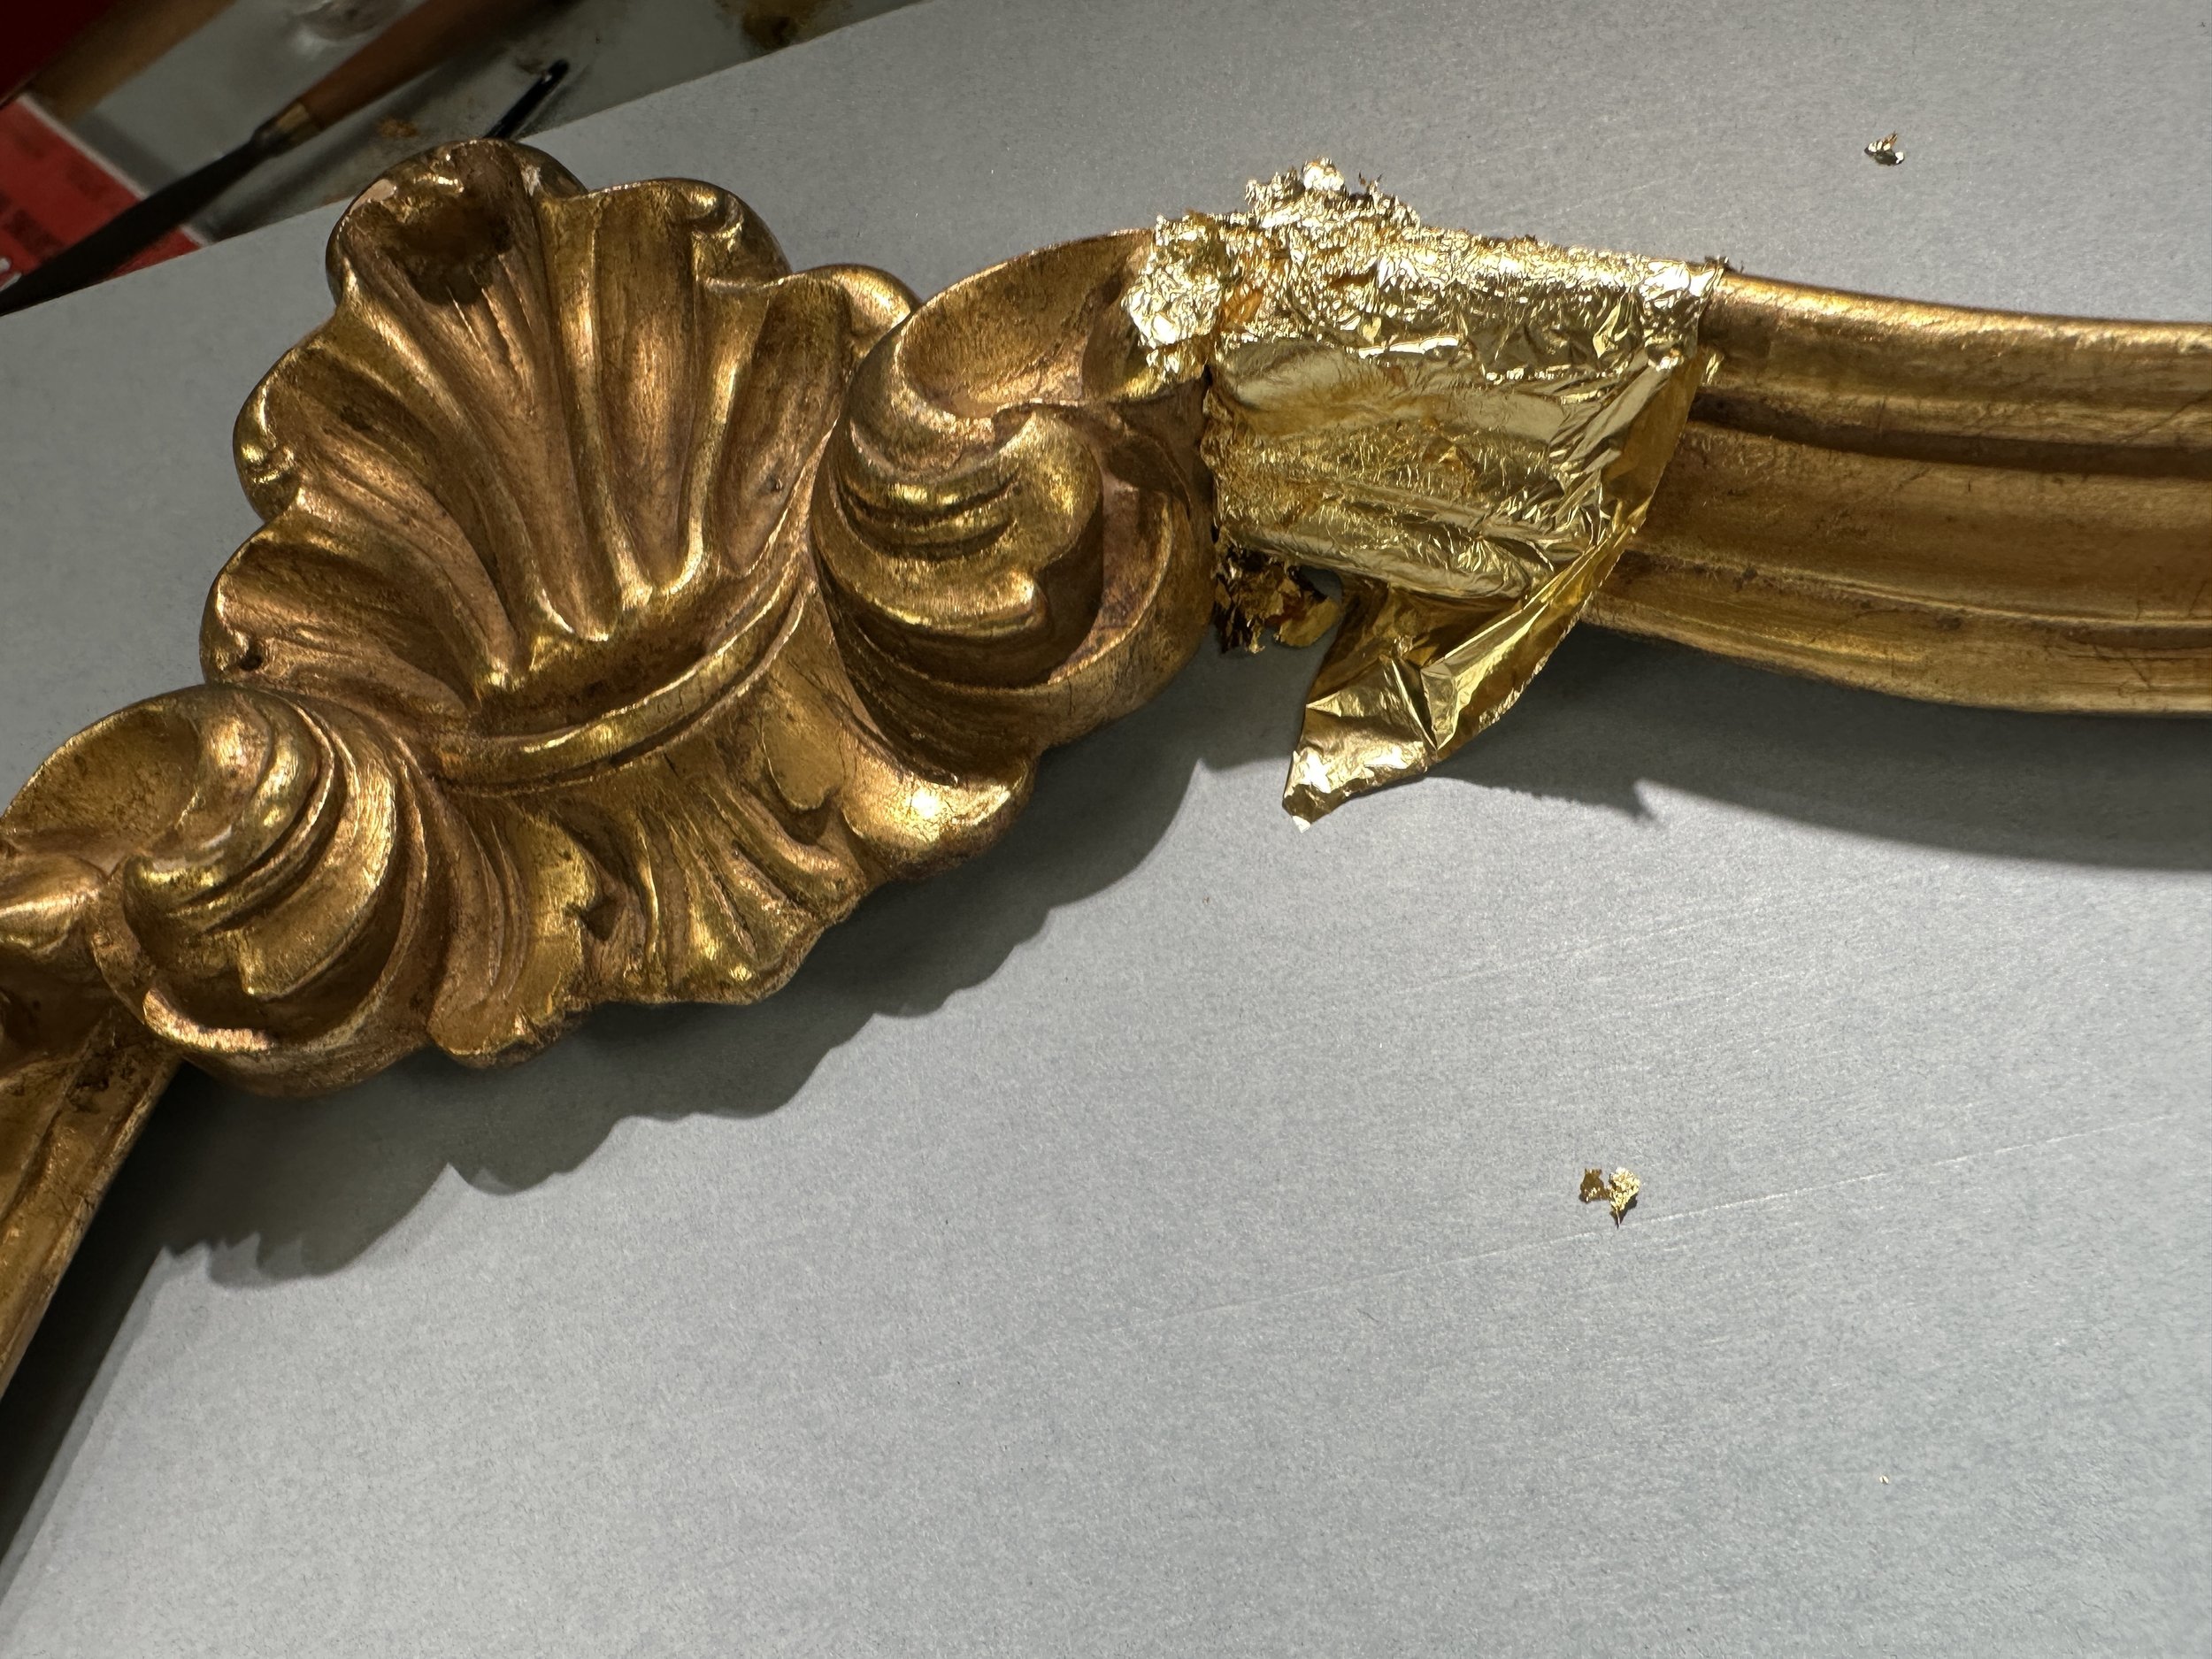
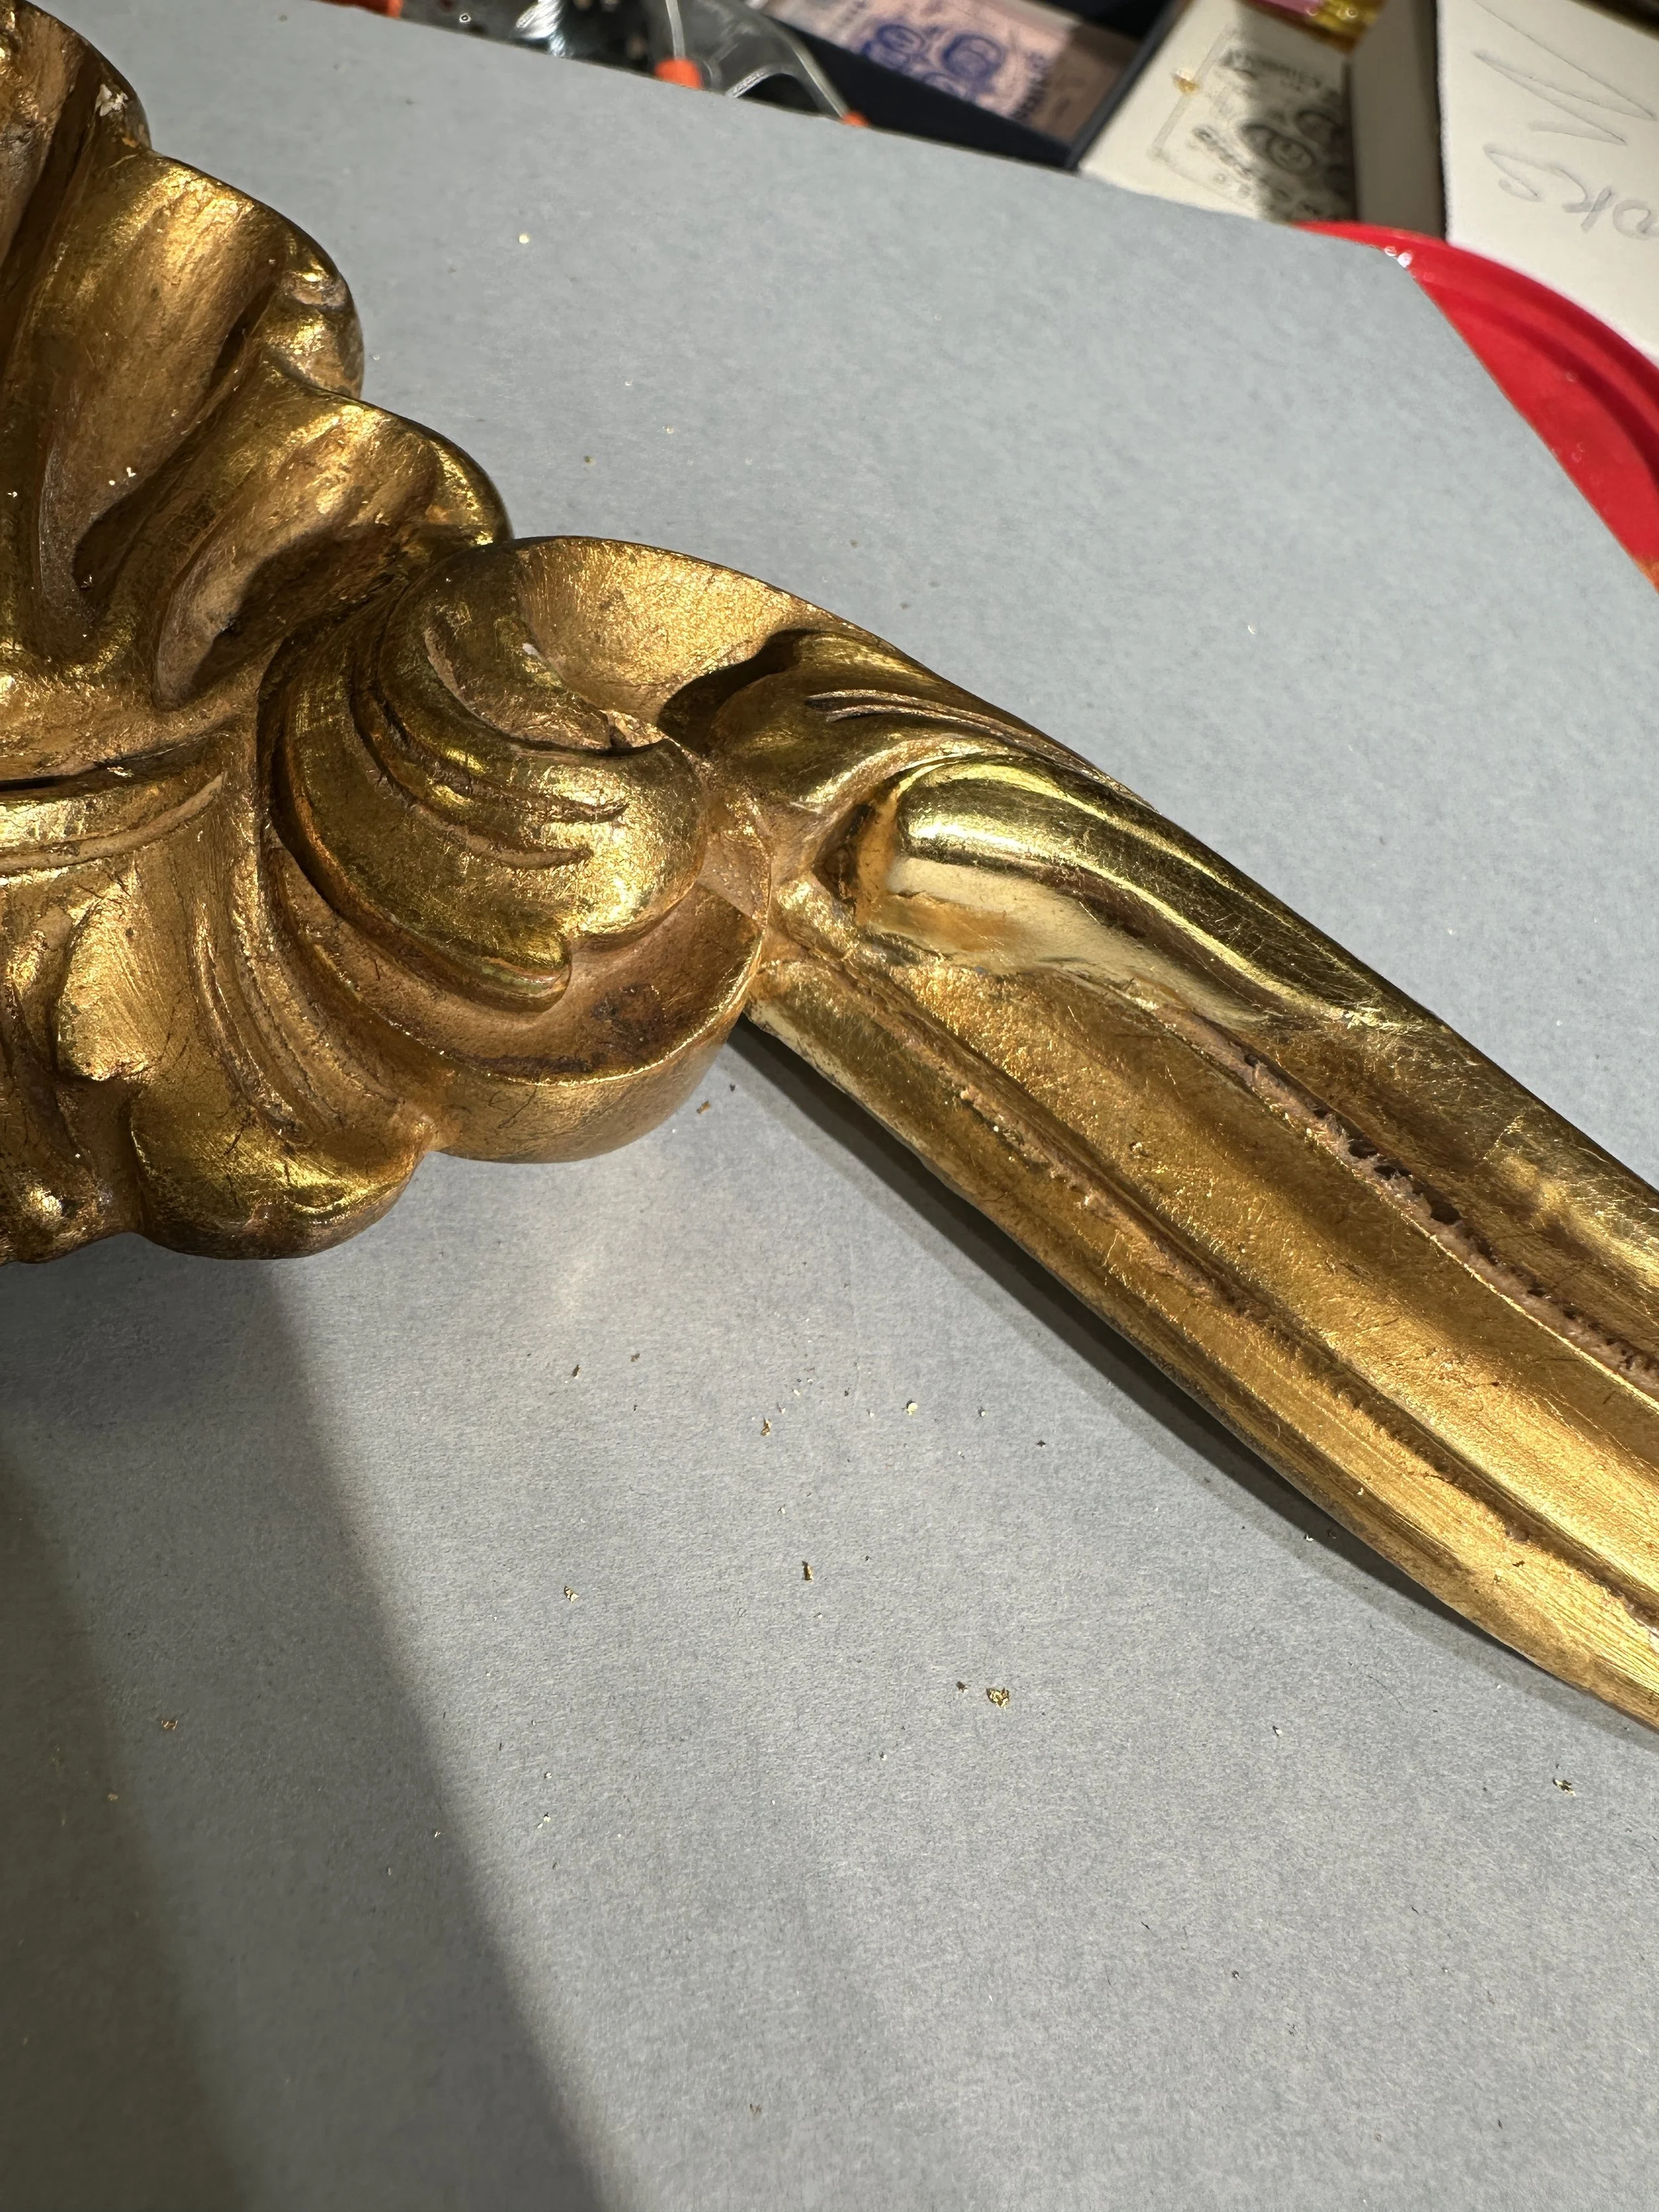
Knowing that I would be taking a gilding workshop at the CMA, I brought the broken gilt frame of a personal, old French mirror to Cleveland as an experimental and educational treatment project. The frame had suffered substantial damage from a fall which broke it into three pieces and chipped additional areas of the decorated gilt surface (the mirror itself remained intact). The upper part of the frame had lost a piece of the decorative element on the side, which could not be found. Prior to the fall, there had also been previous unsuccessful attempts by unknown persons to inpaint superficial damage where gilding and gesso had incidentally chipped or flaked off, using bronze paint and/or gilt cream. My goal was to repair the frame and improve the appearance of both old and new surface losses to return the mirror to its functional and decorative state.
Analysis: Paintings conservator Dean Yoder helped me with an XRF analysis of the frame to identify the original metal used for gilding. Results showed no gold, but strong spikes for copper, iron, and zinc, which allowed us to conclude that the frame was oil gilt with metal leaf and toned (as opposed to water or oil gilt with gold leaf). Based on visual examination and consultation with both Dean and gilding & frame technician Dave Piurek, bronze paint on the inside of the rabbet is due to the mirror, and the mordant may have been intentionally tinted a deep green (giving the appearance of a green bole and/or copper corrosion product) to give greener cast to the metal leaf and improve the appearance of it being genuine gold leaf.
Structural consolidation: I reconstituted the three broken pieces of the frame into a whole with a double application of Old Brown Glue hide glue. The first application sized/sealed the porous surface of the bare wood (which was quite thirsty), and the second used for joining. Given the irregularity of the breaks and odd angles, clamping the joints for drying was tricky and required multi-directional force: after several dry practice runs, I used silicone jaw clamps for two of the broken joints, and for the third break, which could not be clamped together directly due to the large loss in the middle of it, I created a system with multi-directional pressure using soft and hard weights, and a carved piece of balsa wood.
A failed technique for reinforcing joints: For the sake of experimentation, and with the awareness that the reconstituted frame would have to be strong enough to hold a fairly heavy glass mirror in it, I tried a technique for reinforcing the new joints with a fine cotton muslin backing. In the process of the latter, I discovered a corrosion reaction occurring from the contact of the pre-made hide glue (Old Brown Glue) with the bronze paint in the rabbet, causing the strips to turn blue-green. After running some tests with traditionally prepared hide glue and consulting with gilding technician Dave Piurek and objects conservator Colleen Snyder, we concluded that the addition of urea to the pre-made mixture was the likely cause of the reaction. I removed the reinforcing strips with a poultice of 10% w/v Laponite (5g Laponite in 50mL deionized water) and thereafter switched to using traditionally prepared hide glue. In the end, it was decided that the joints were strong enough without the reinforcing muslin strips, and for the sake of time efficiency, this step would be skipped.
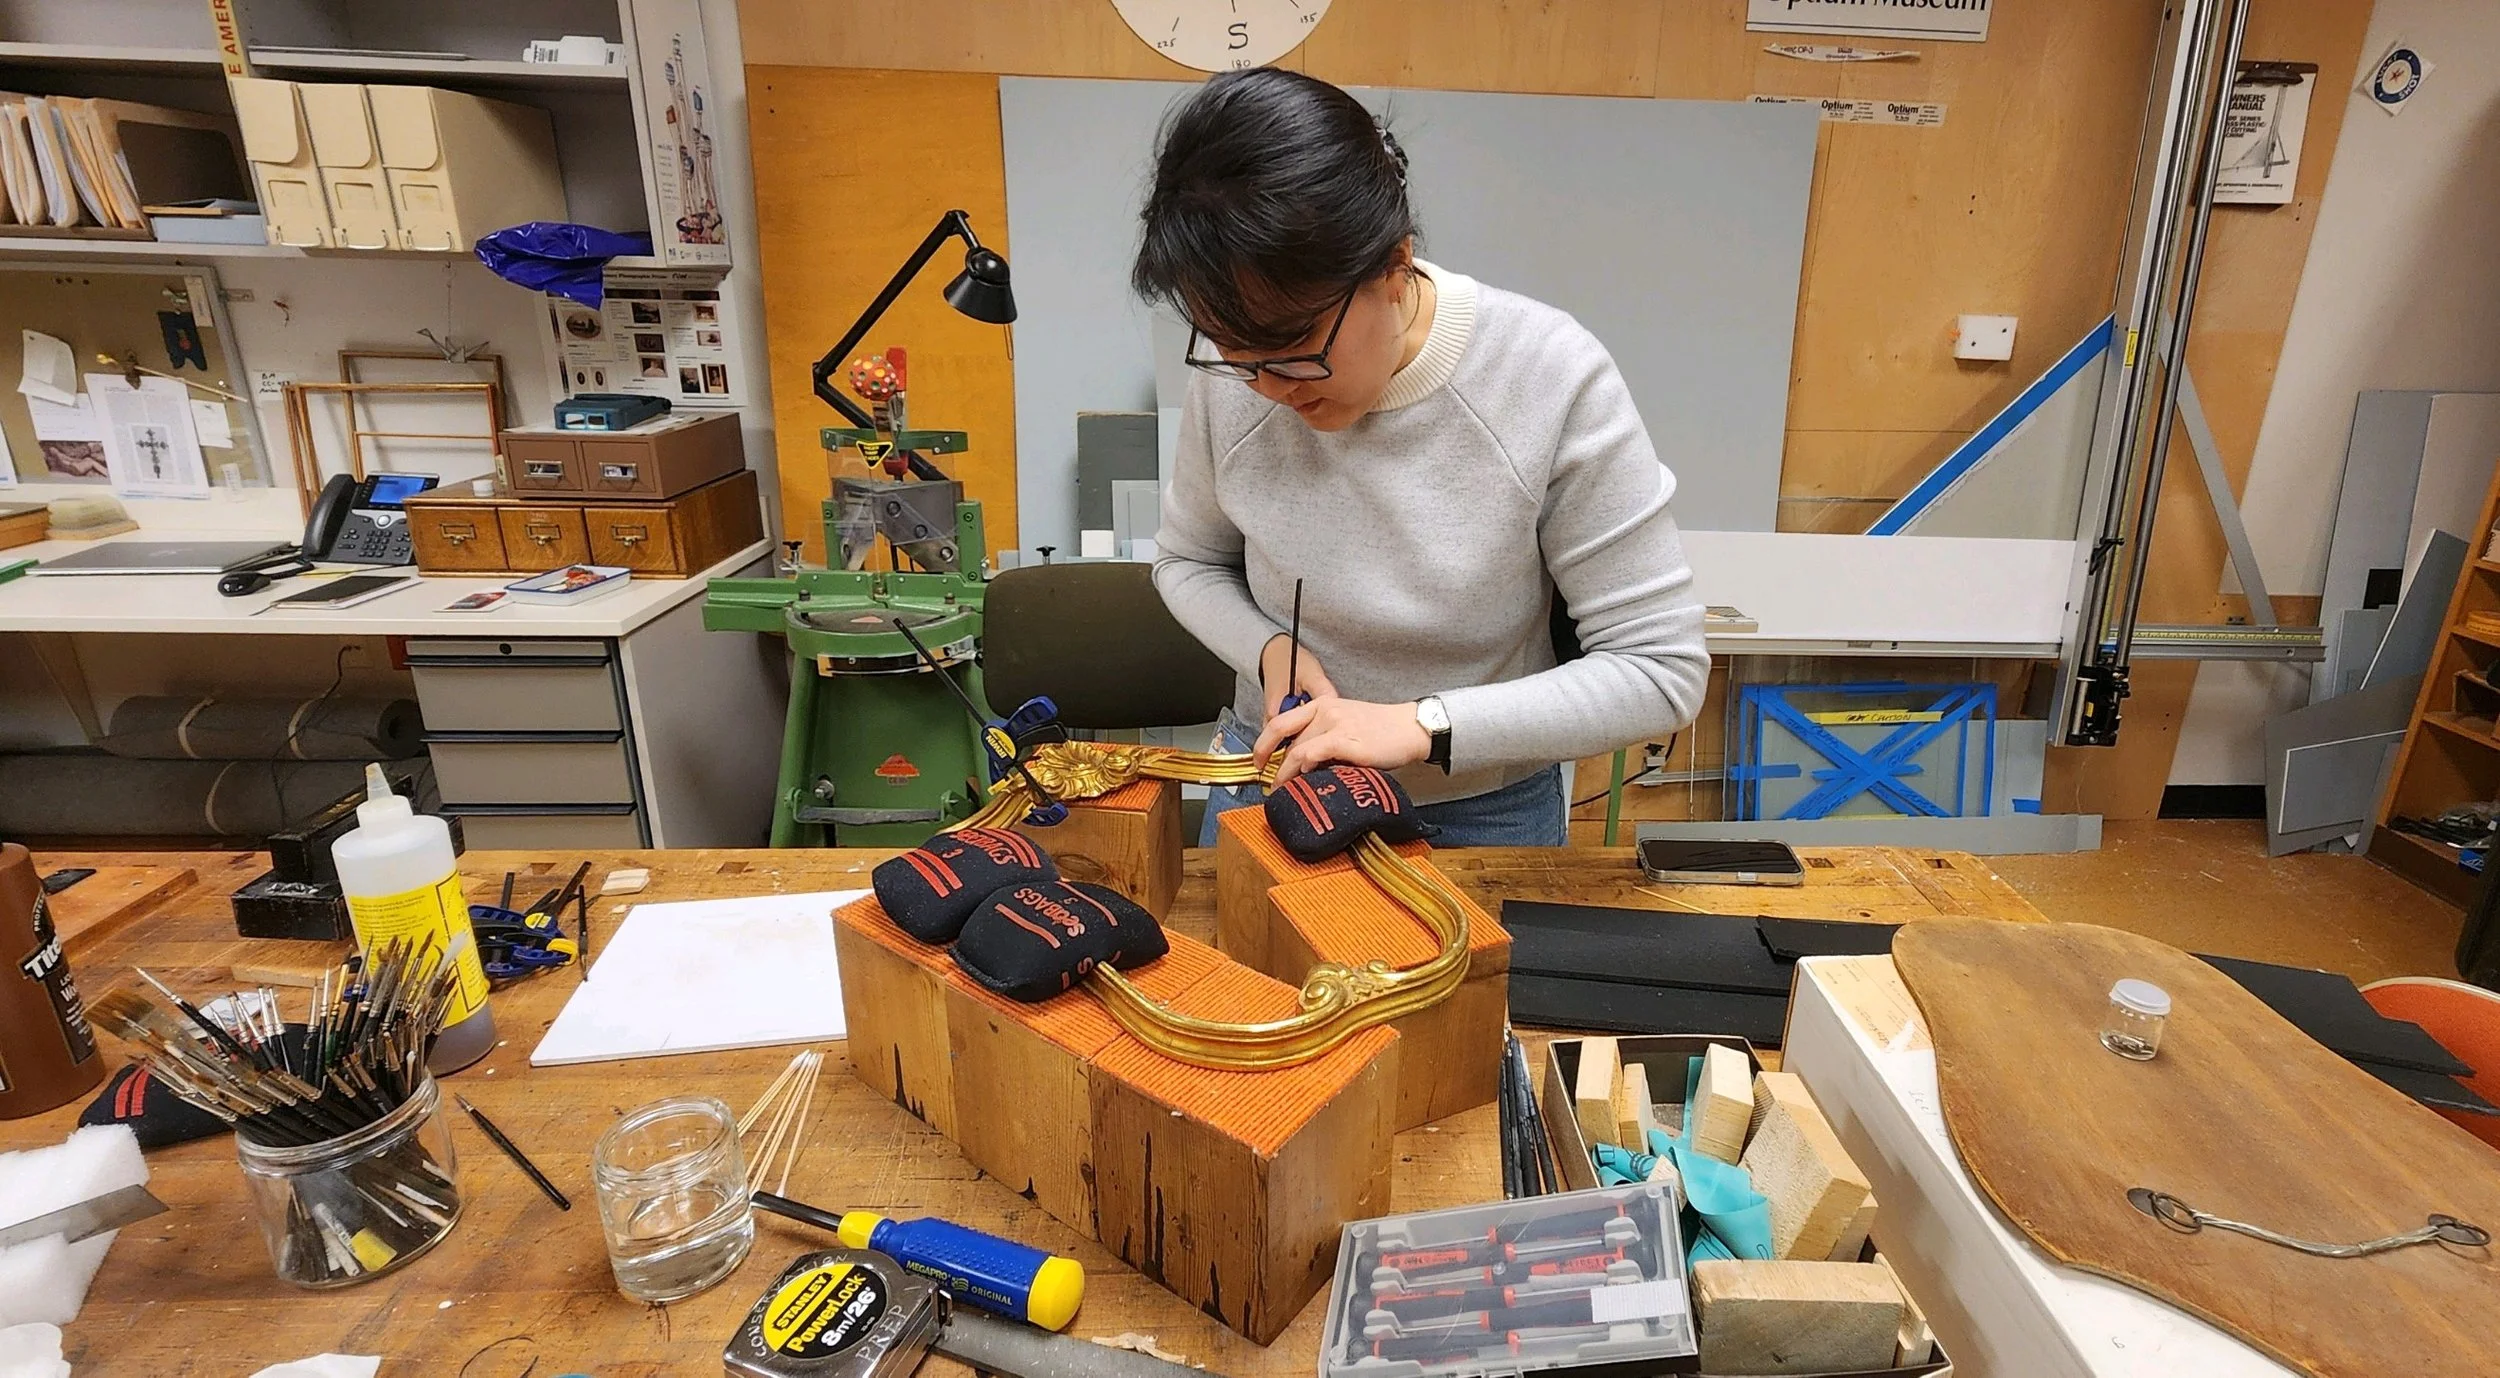
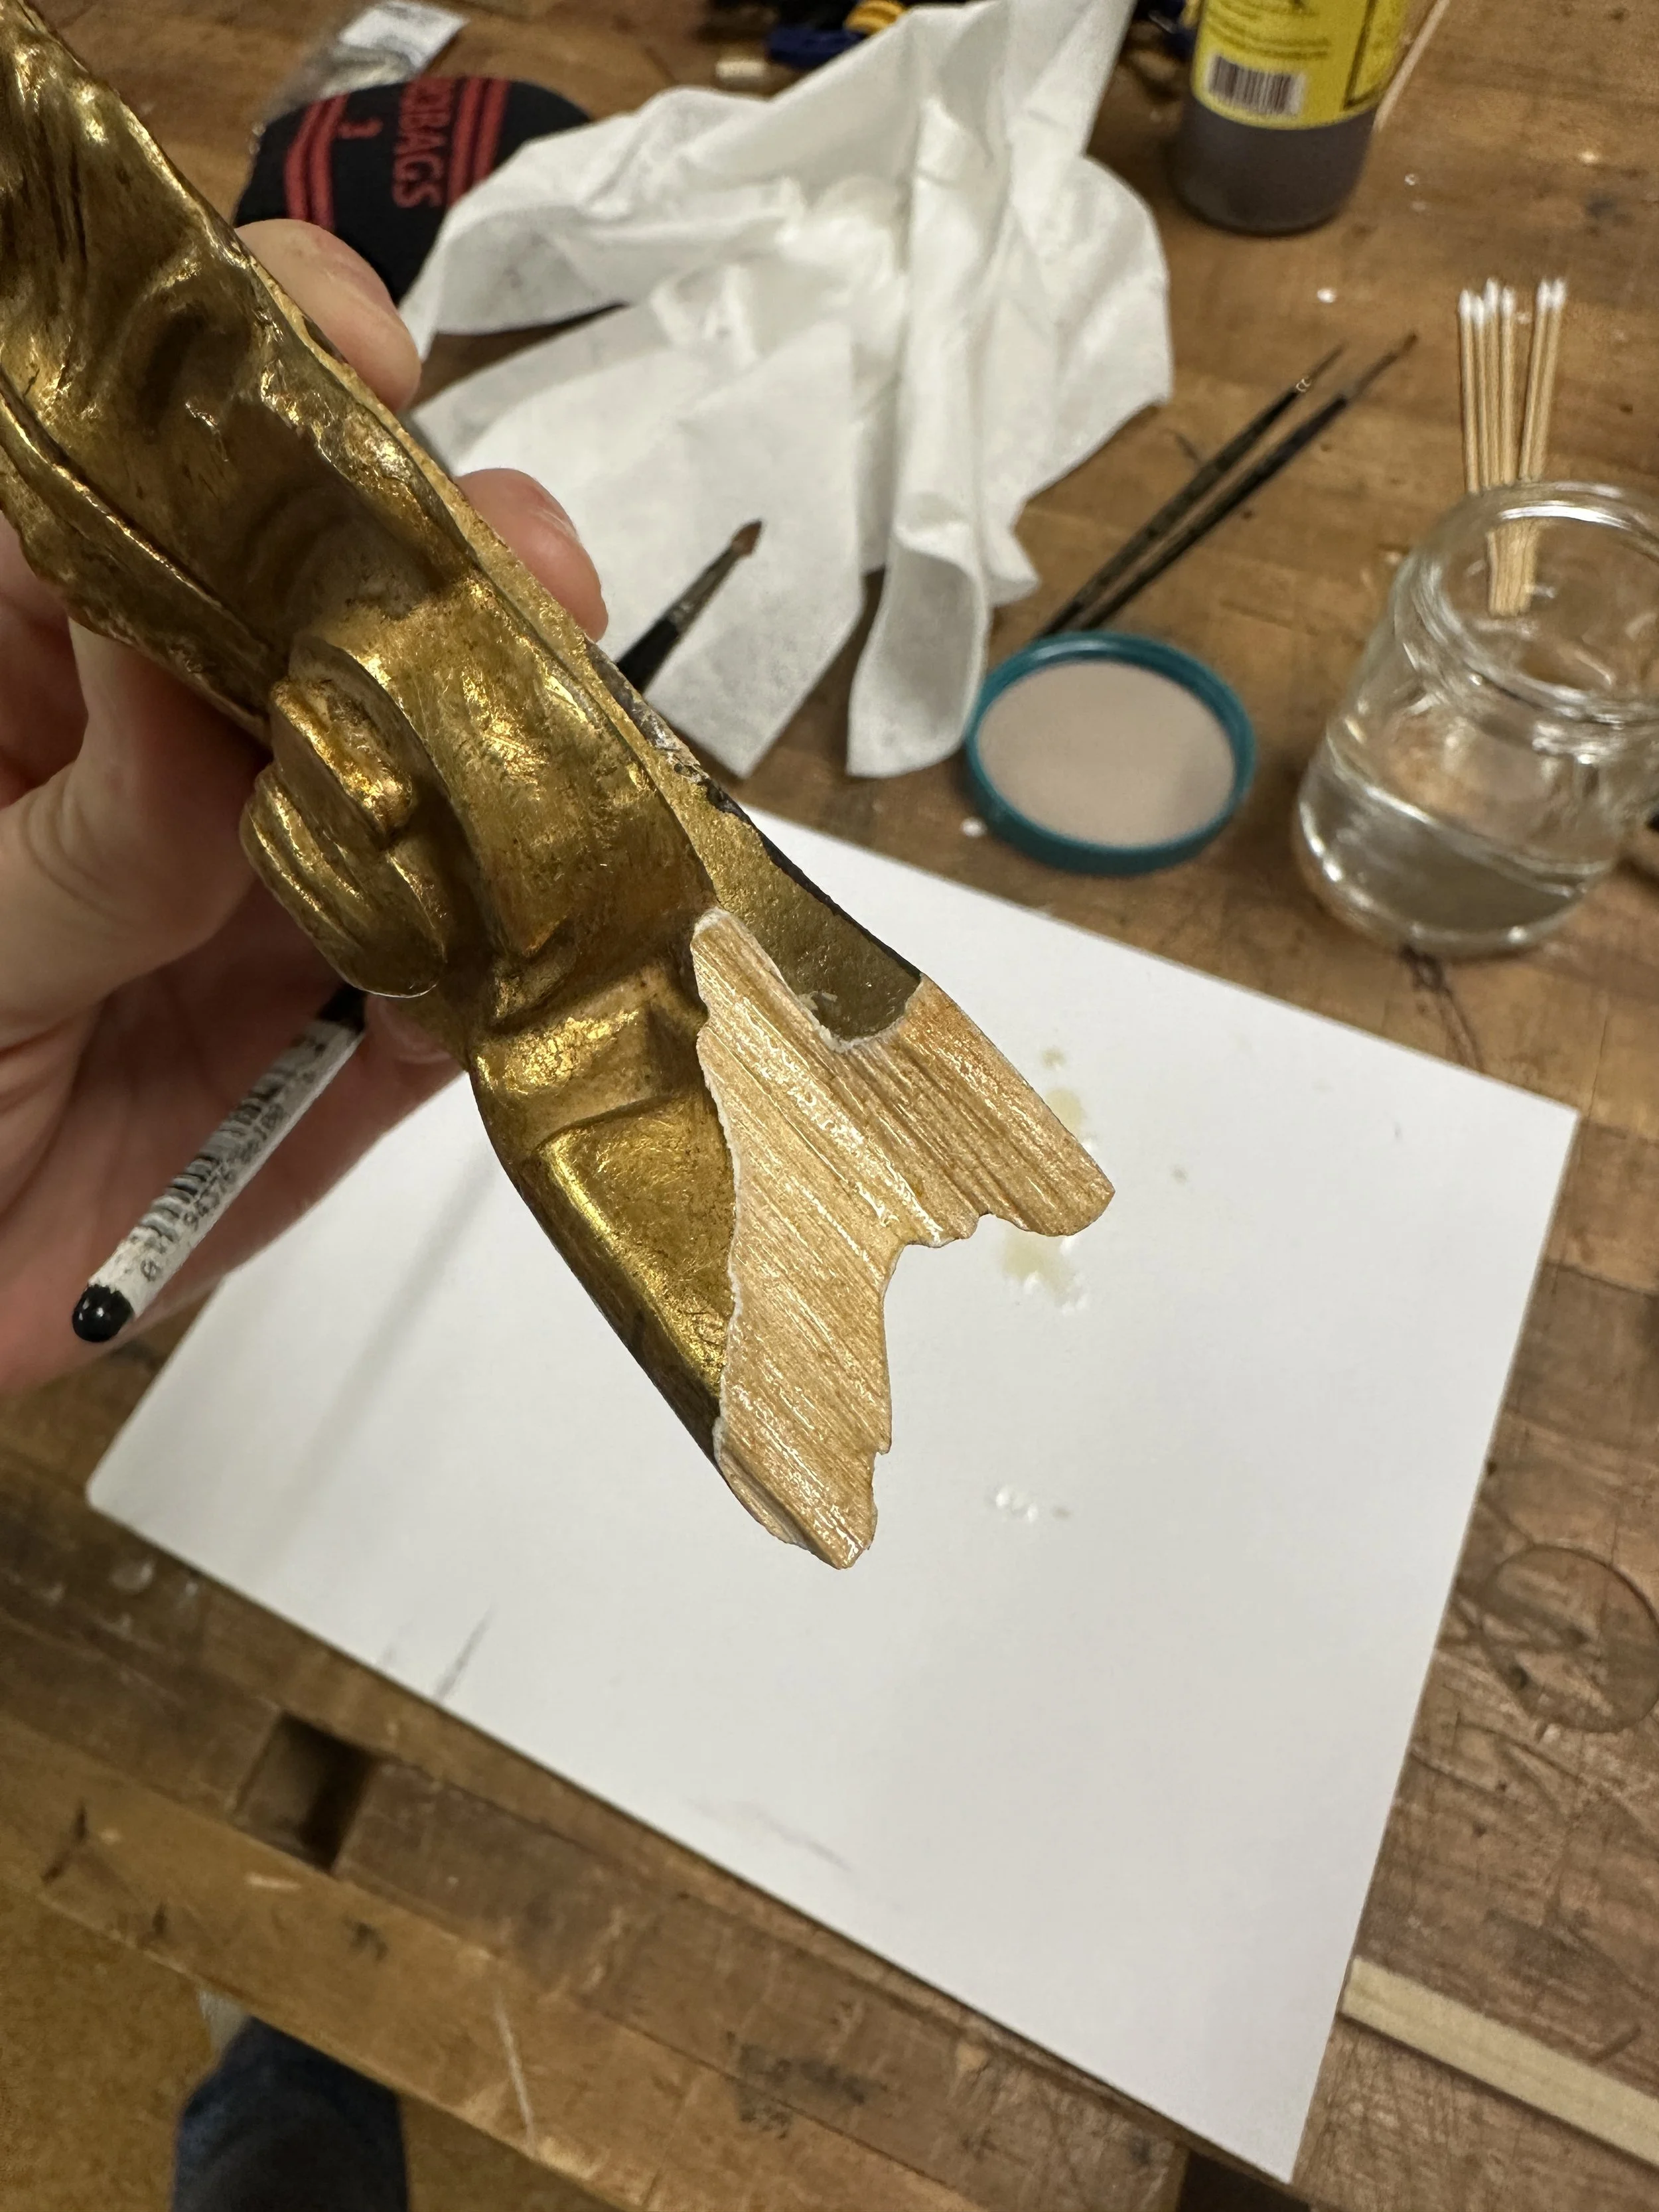
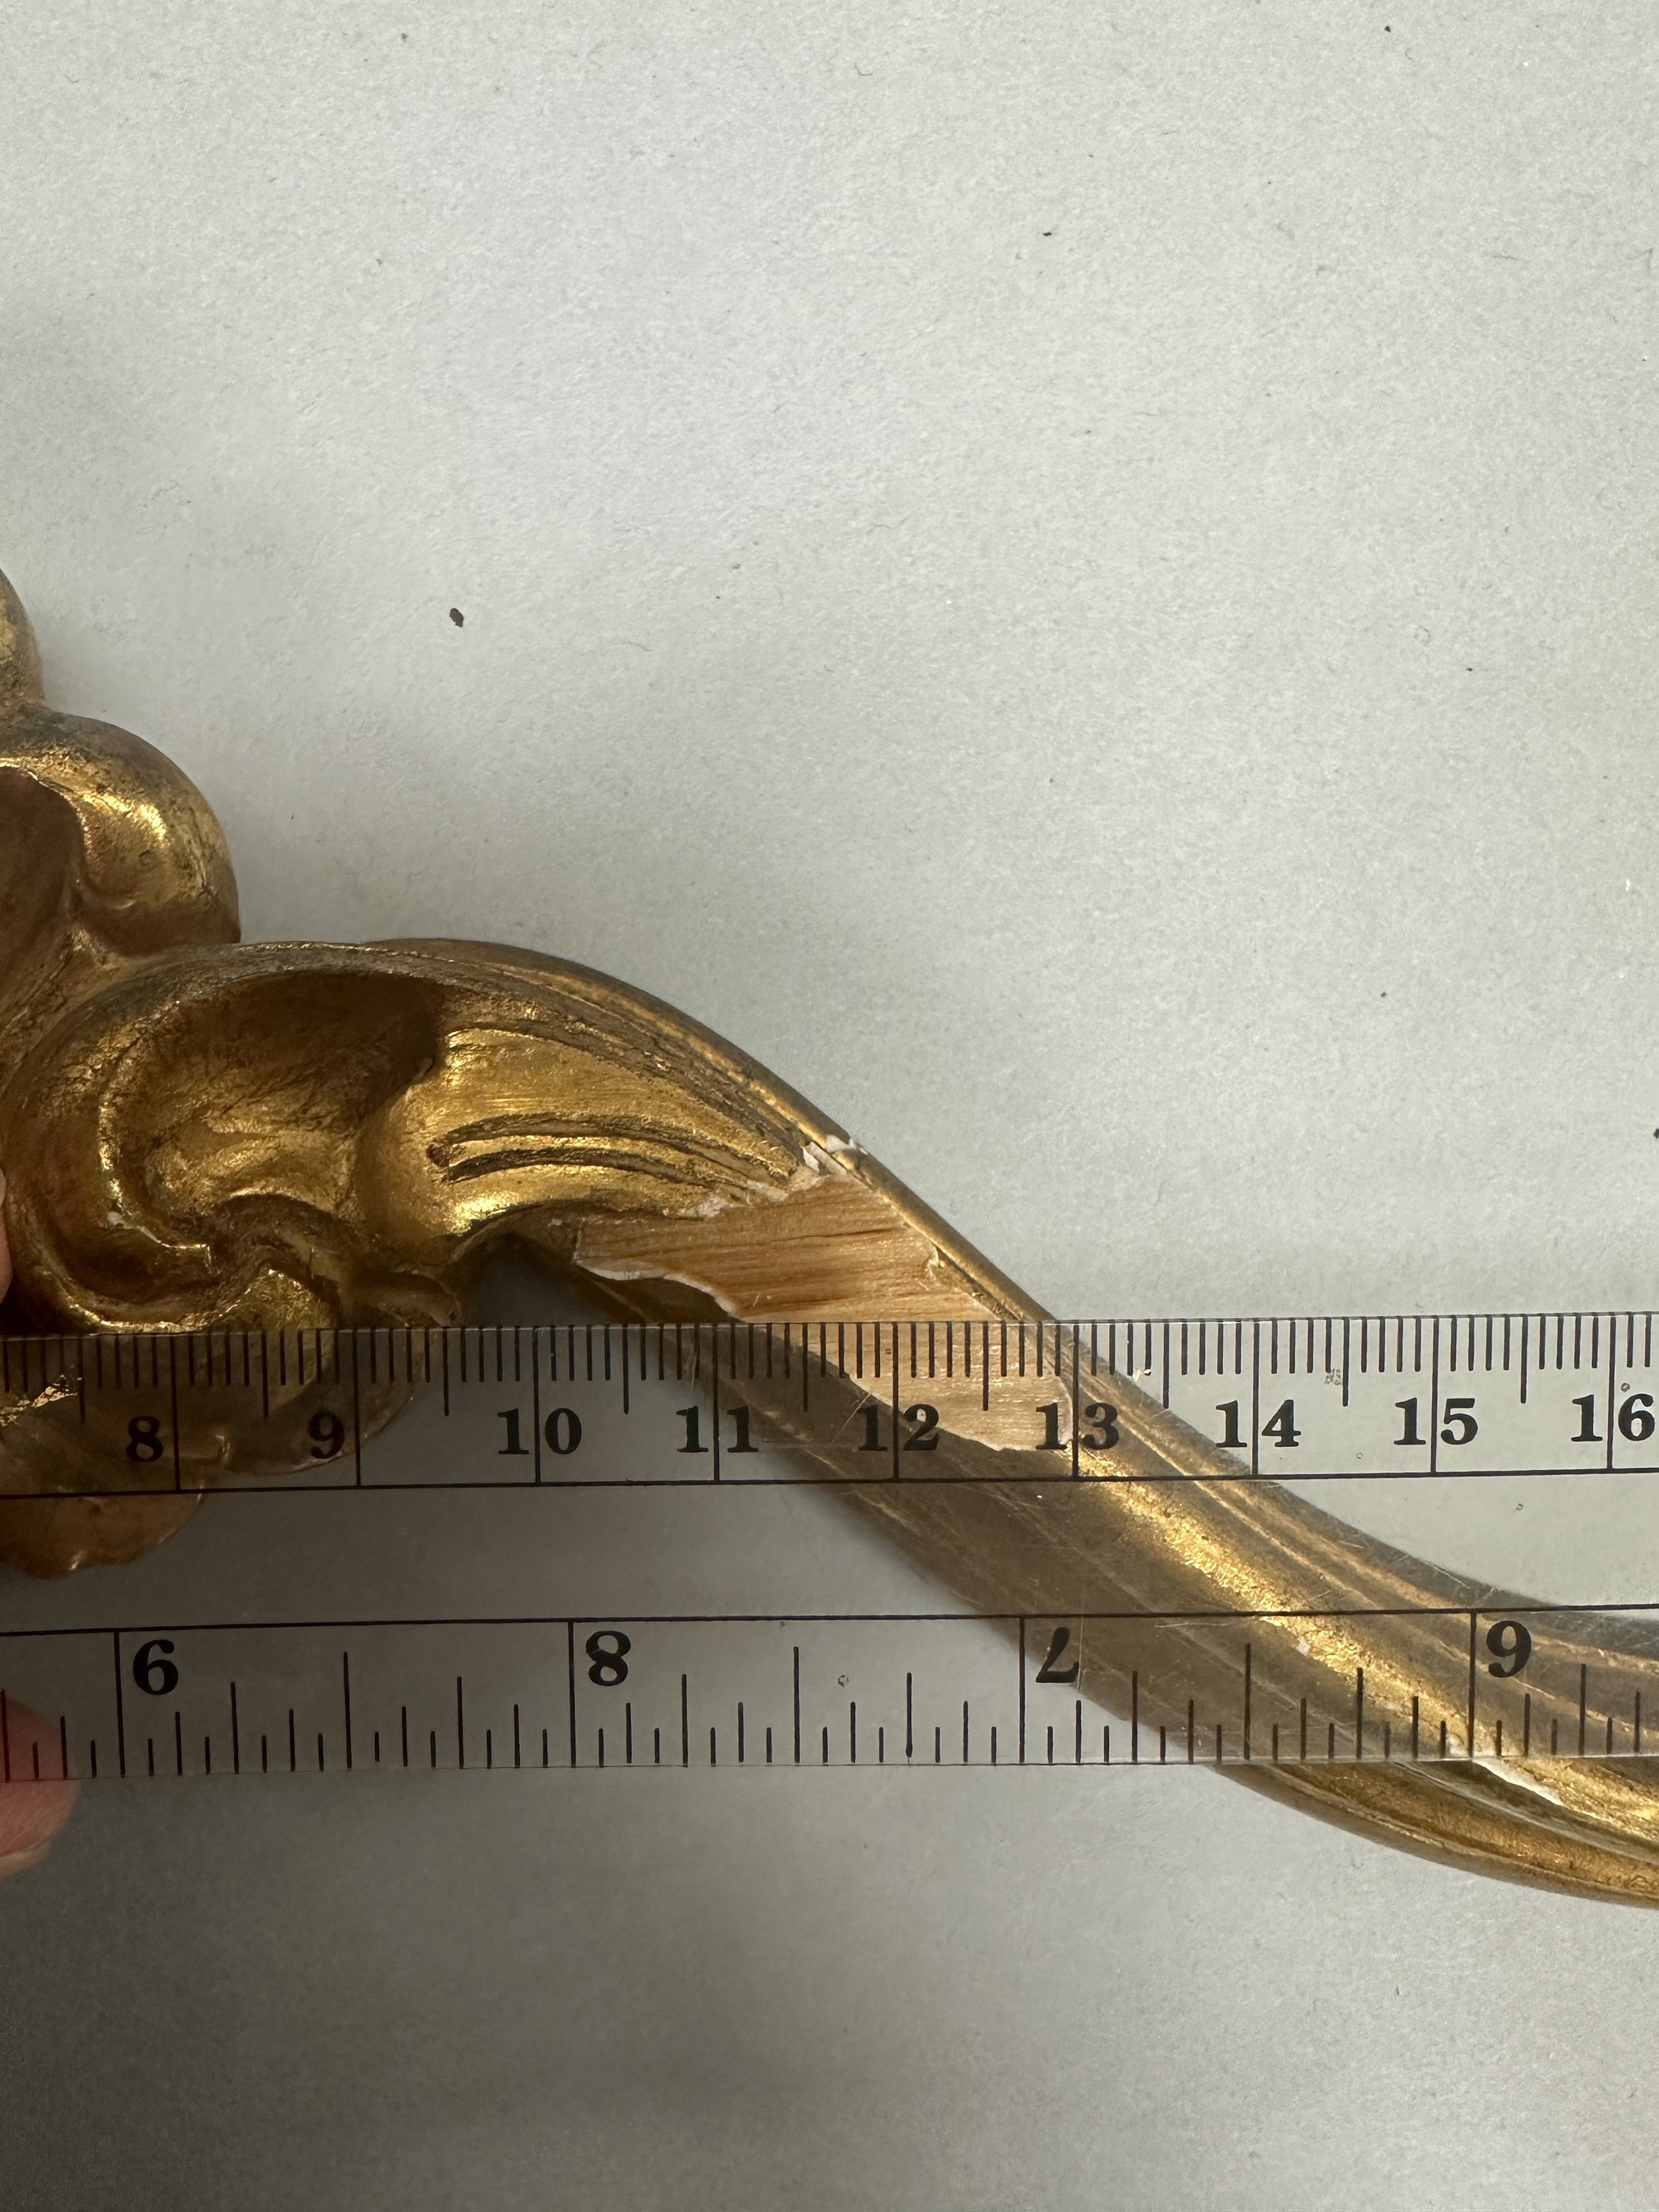
Loss compensation: After observing the work of 3rd year graduate intern, Caroline Shaver, on the frame of a terracotta relief by Pierino da Vinci recently acquired by the CMA, I decided to carve a bass wood fill for the large loss. I chose bass wood for ease of carving as well as the benefit of using the same material the frame appears to be made of, making the weight more consistent due to similar density. To get a better idea of the shape needed for the fill, I took a silicone mold of the loss, and used this as a visual aid to carve the piece to be fitted in, as well as graphite paper. I additionally carved the fill to match the grain direction of the frame. I set the fill into the loss using Lee Valley fish glue heavily bulked with pine sawdust (a choice made after running experiments on workability and shrinkage of differently bulked levels of hide glue vs. Lee Valley fish glue). The fill was carved to be recessed into the loss, leaving allowance for the additional layers to be laid over it: I used Modostuc to fill the fine cracks and small losses, and to model the surface of the large fill, by packing it in and then carving it down.
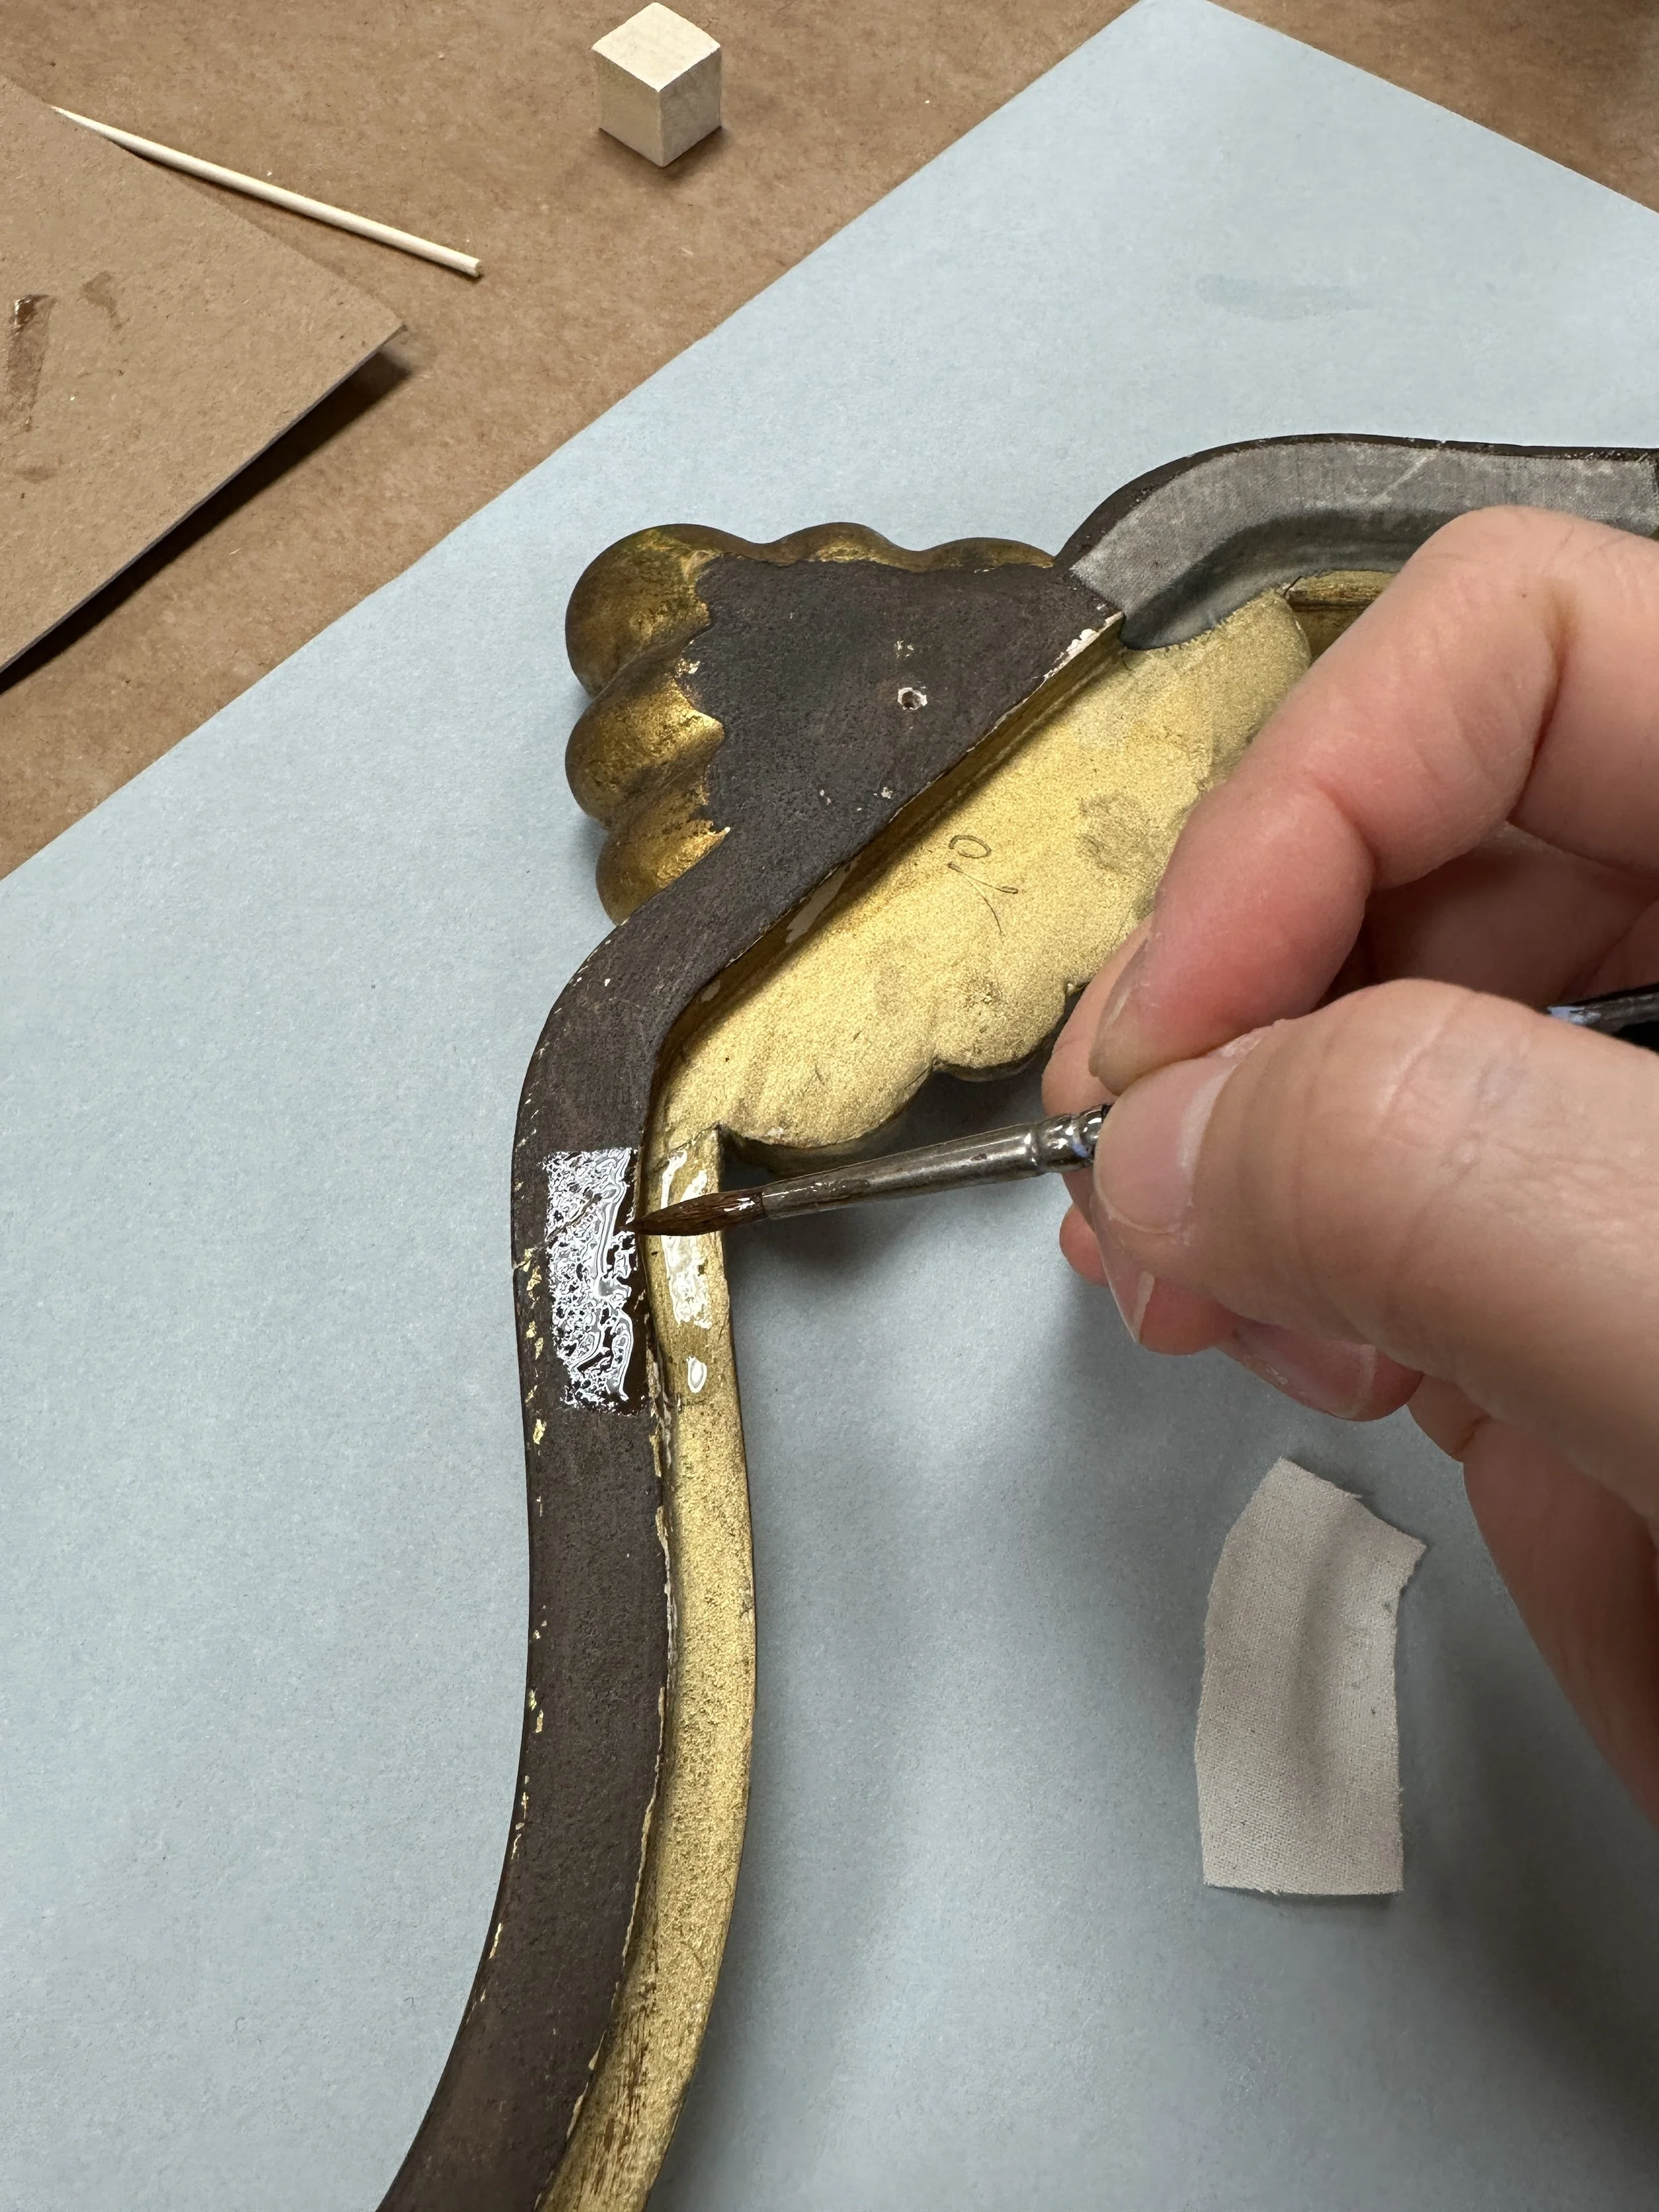
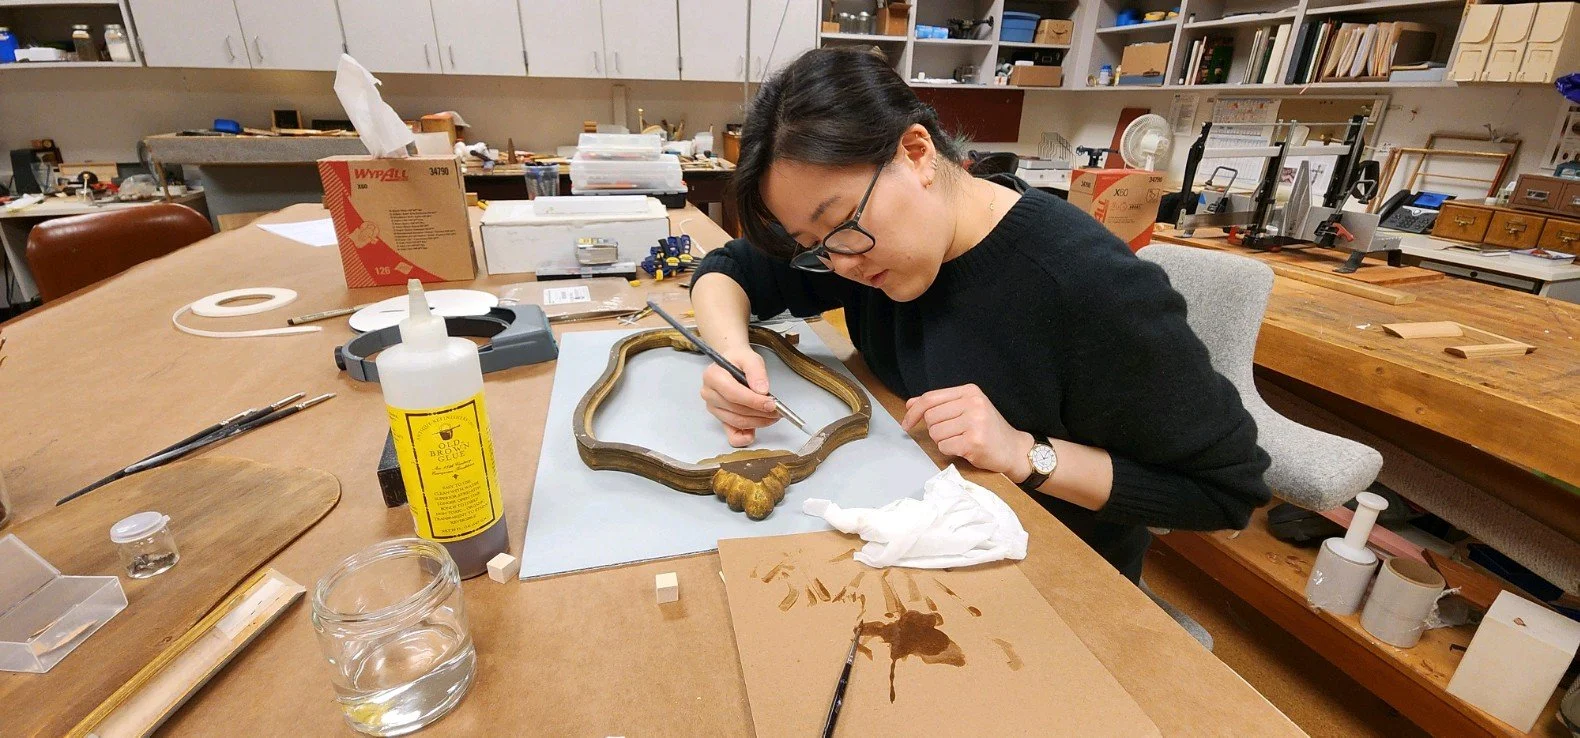
Surface integration: I tested two different methods of gilding fills and losses on small areas to see which would have the better effect: water gilding over custom-mixed green bole (yellow with Latium Blue) vs. mordant gilding over Gamblin conservation colors (cobalt green). I found that water gilding and gentle burnishing produced a smoother surface that better matched the texture and shine of the original surface, and used this method for the rest of the fills. I used Orasol dyes 94010 Yellow, SY 157, and orange to tone the gold, and a combination of Gamblin conservation colors applied with a brush, asphaltum stippled on with a makeup sponge, and casein paint with brush and sponge for inpainting “wear” (selective dullness & tarnish) and texture.

Using a handheld XRF machine to determine the type of gilding used. (Photo: Jennifer Kim)
Performing a dry run of the clamping method for gluing. (Photo: David Piurek)
Sizing the porous wood in the break with hide glue. (Photo: Jennifer Kim)

Setup of the clamps and weights to hold the pieces together while the hide glue cures. (Photo: Jennifer Kim)

Carved balsa wood and solid weight to create pushing force. (Photo: Jennifer Kim)
Proper left lower break after glued together. (Photo: Jennifer Kim)
Proper right side break after gluing. (Photo: Jennifer Kim)
Proper left upper break after gluing. (Photo: Jennifer Kim)
Applying hide glue to the area in need of reinforcement. (Photo: Jennifer Kim)
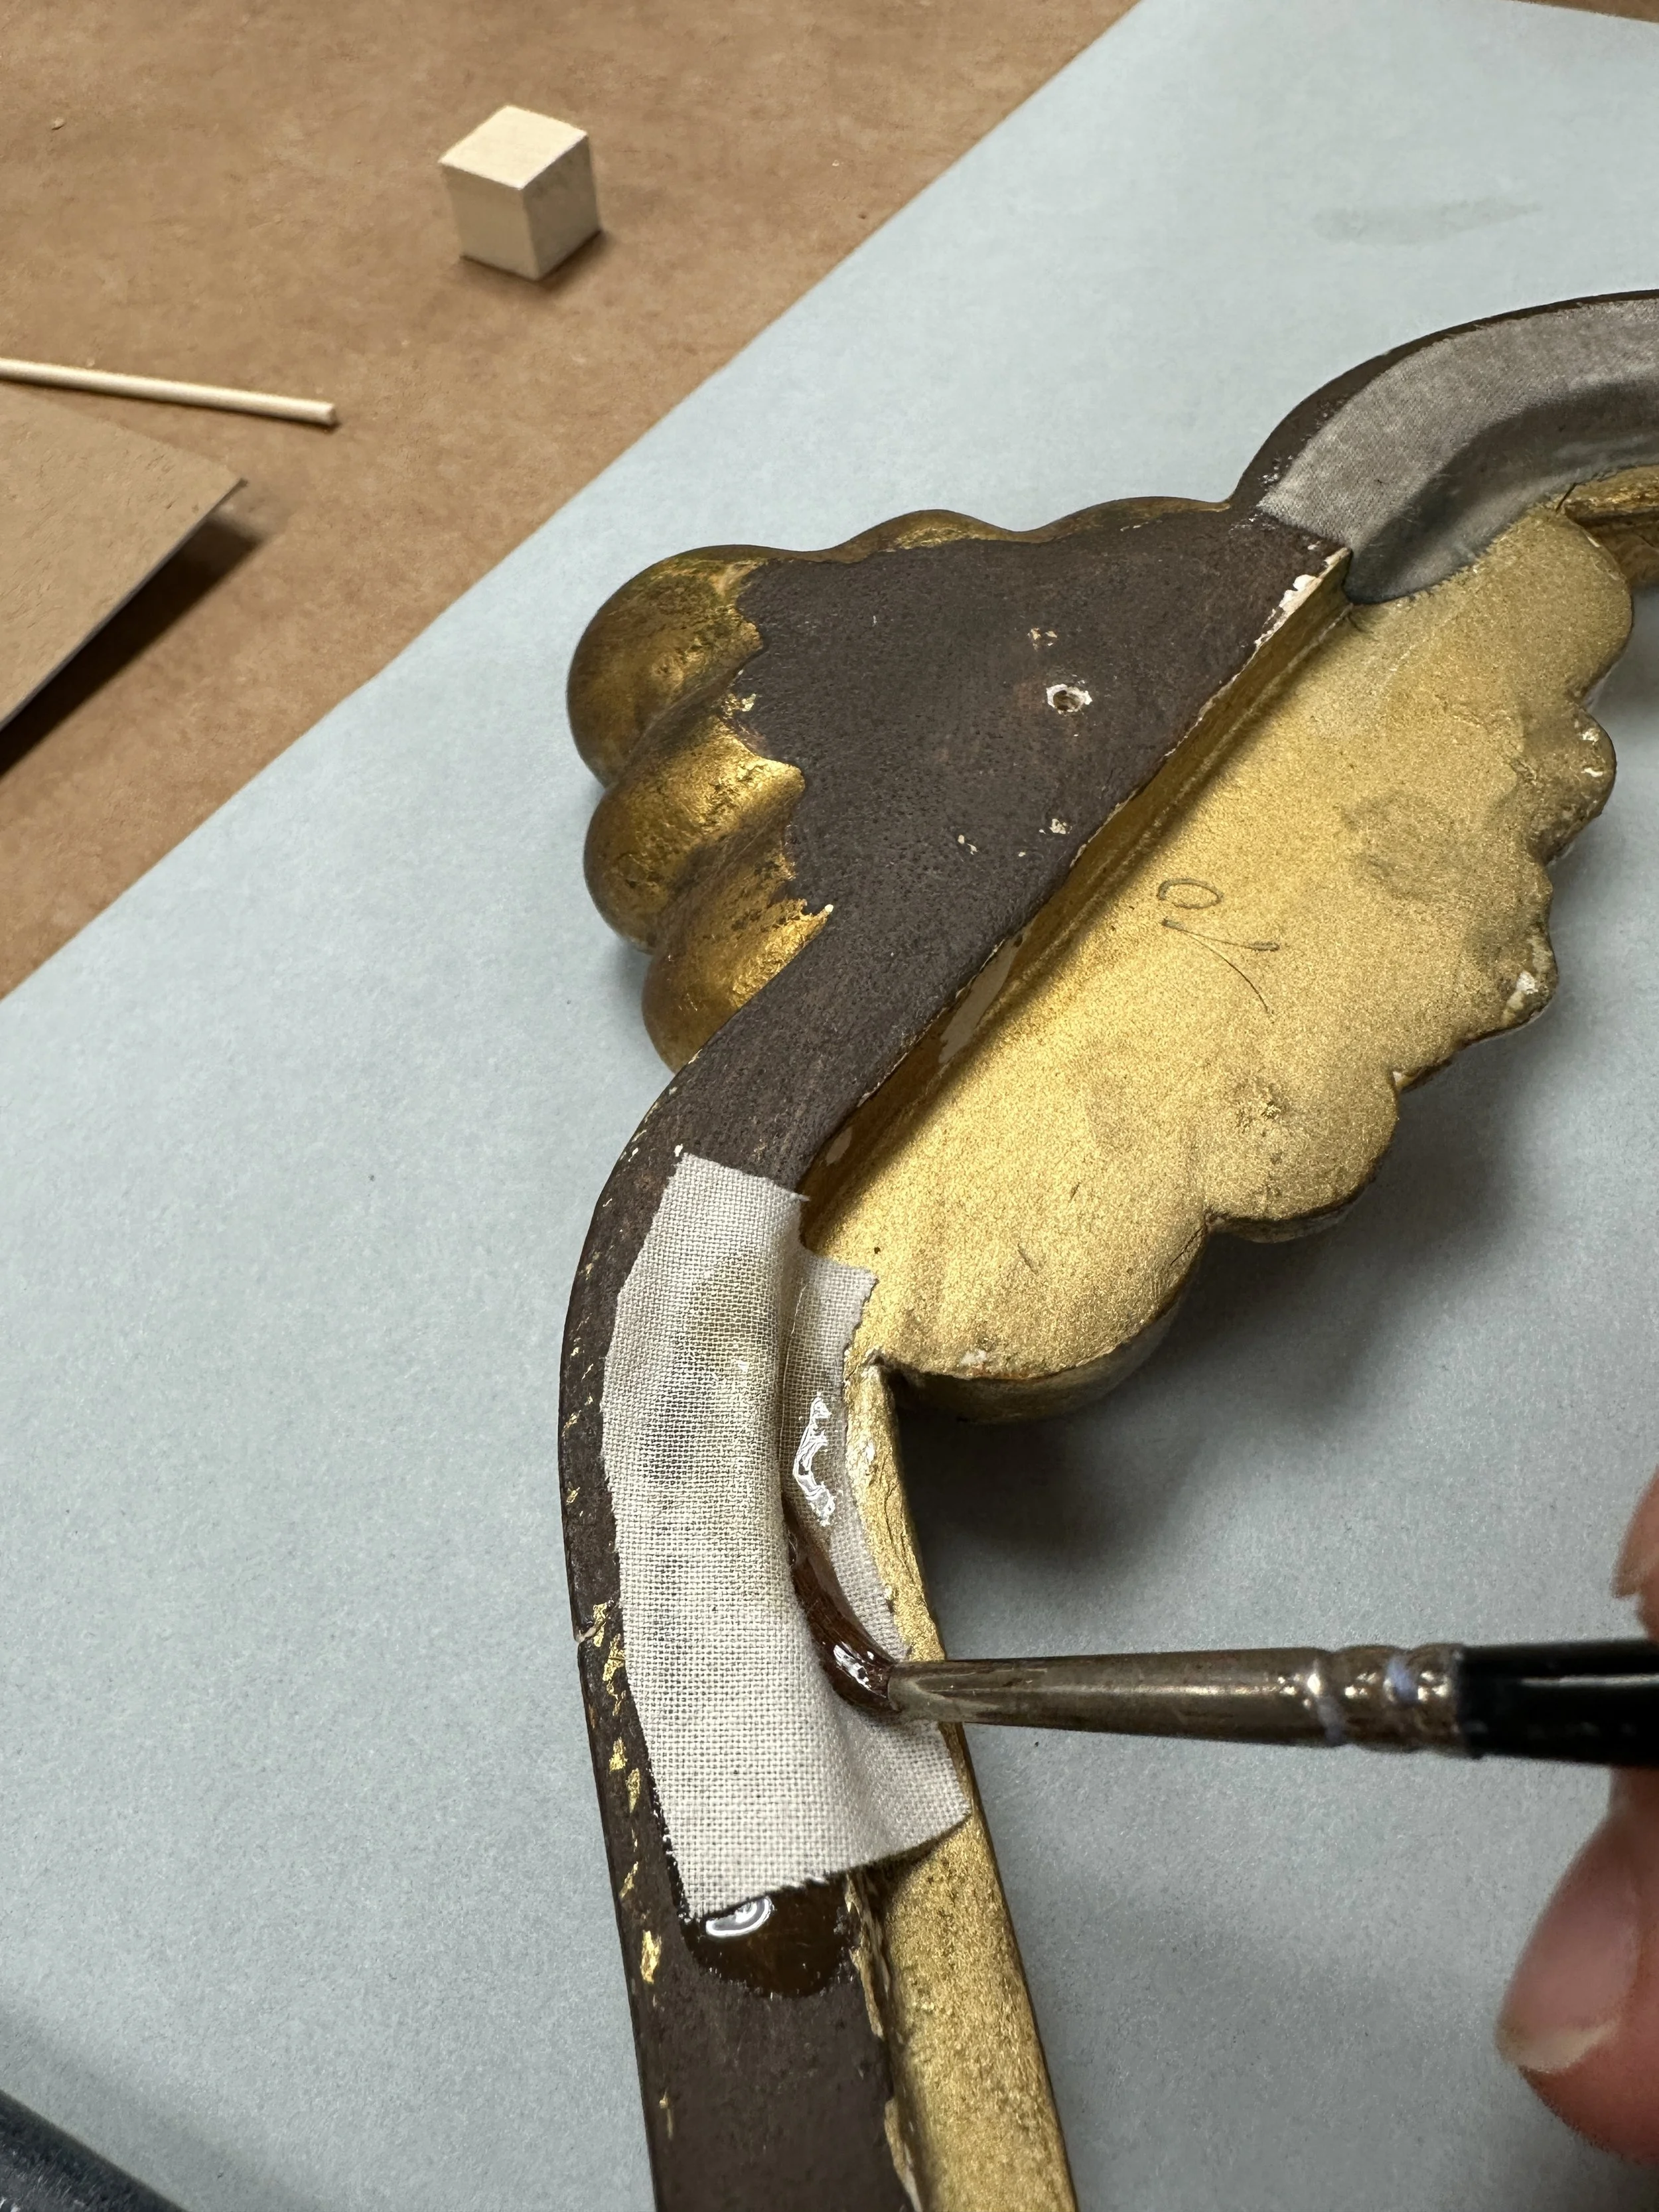
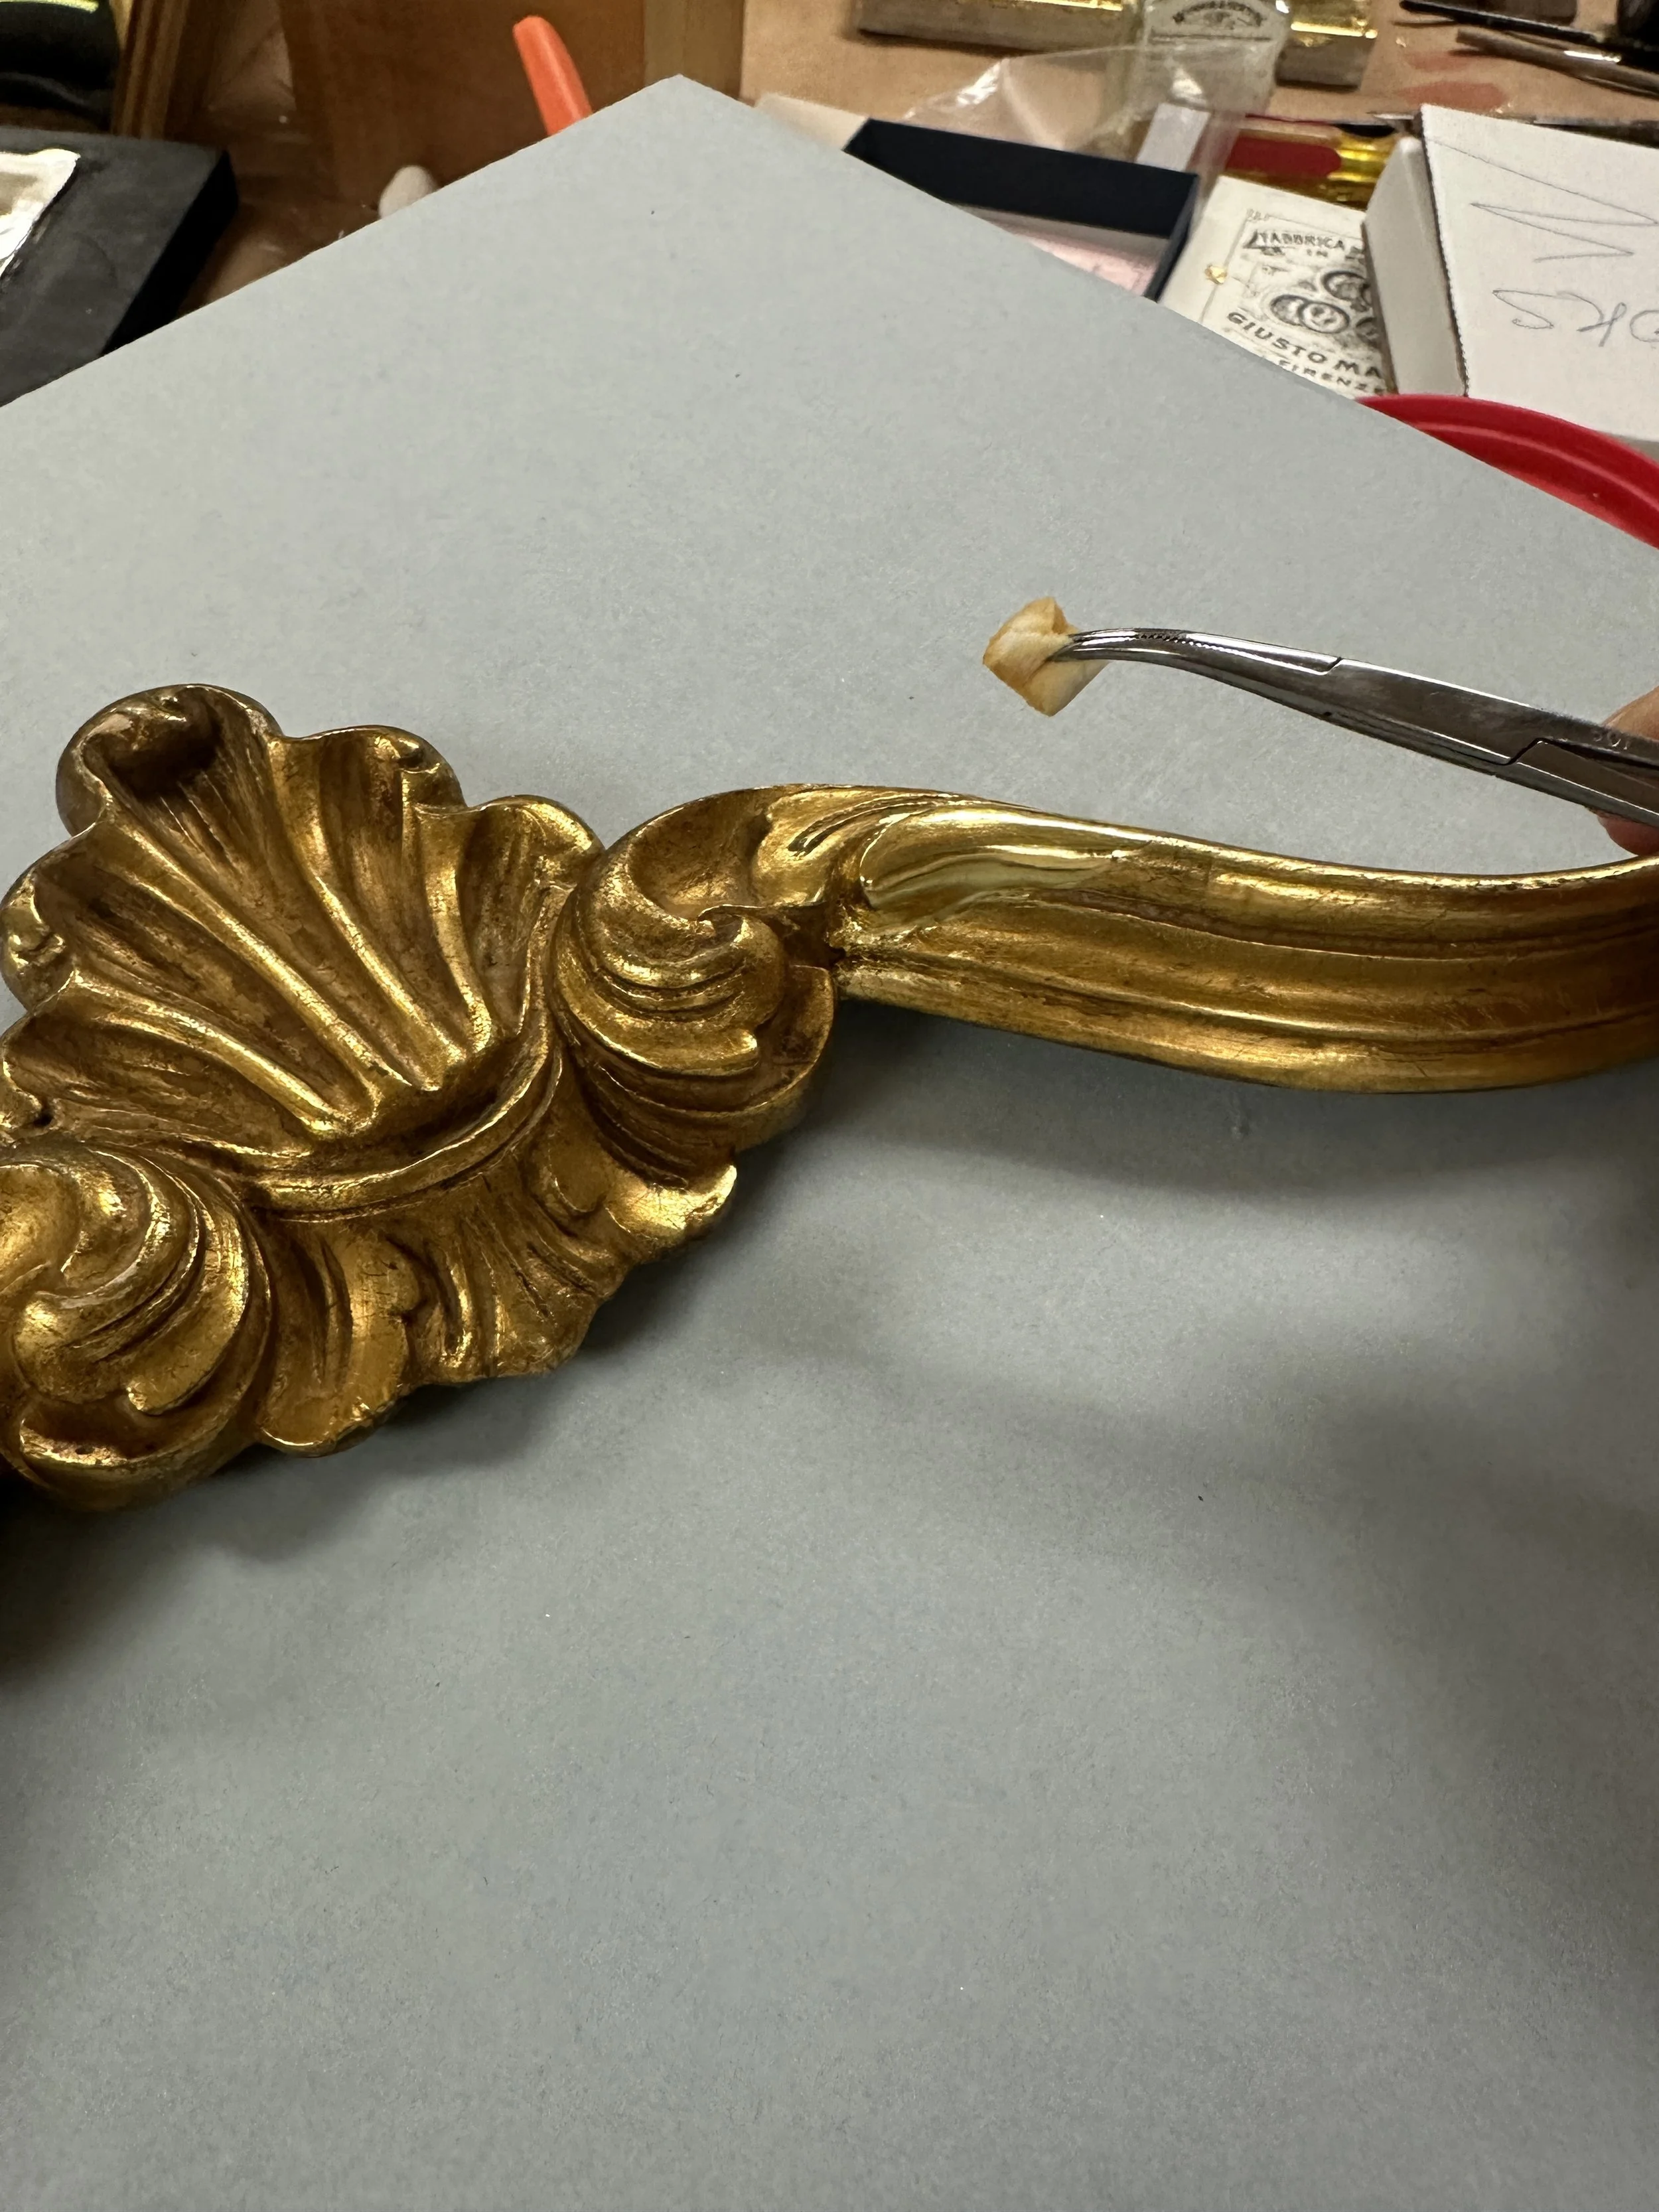
Saturating the cotton muslin strip with excess hide glue. (Photo: Jennifer Kim)
Working on the reinforcing strip. (Photo: David Piurek)
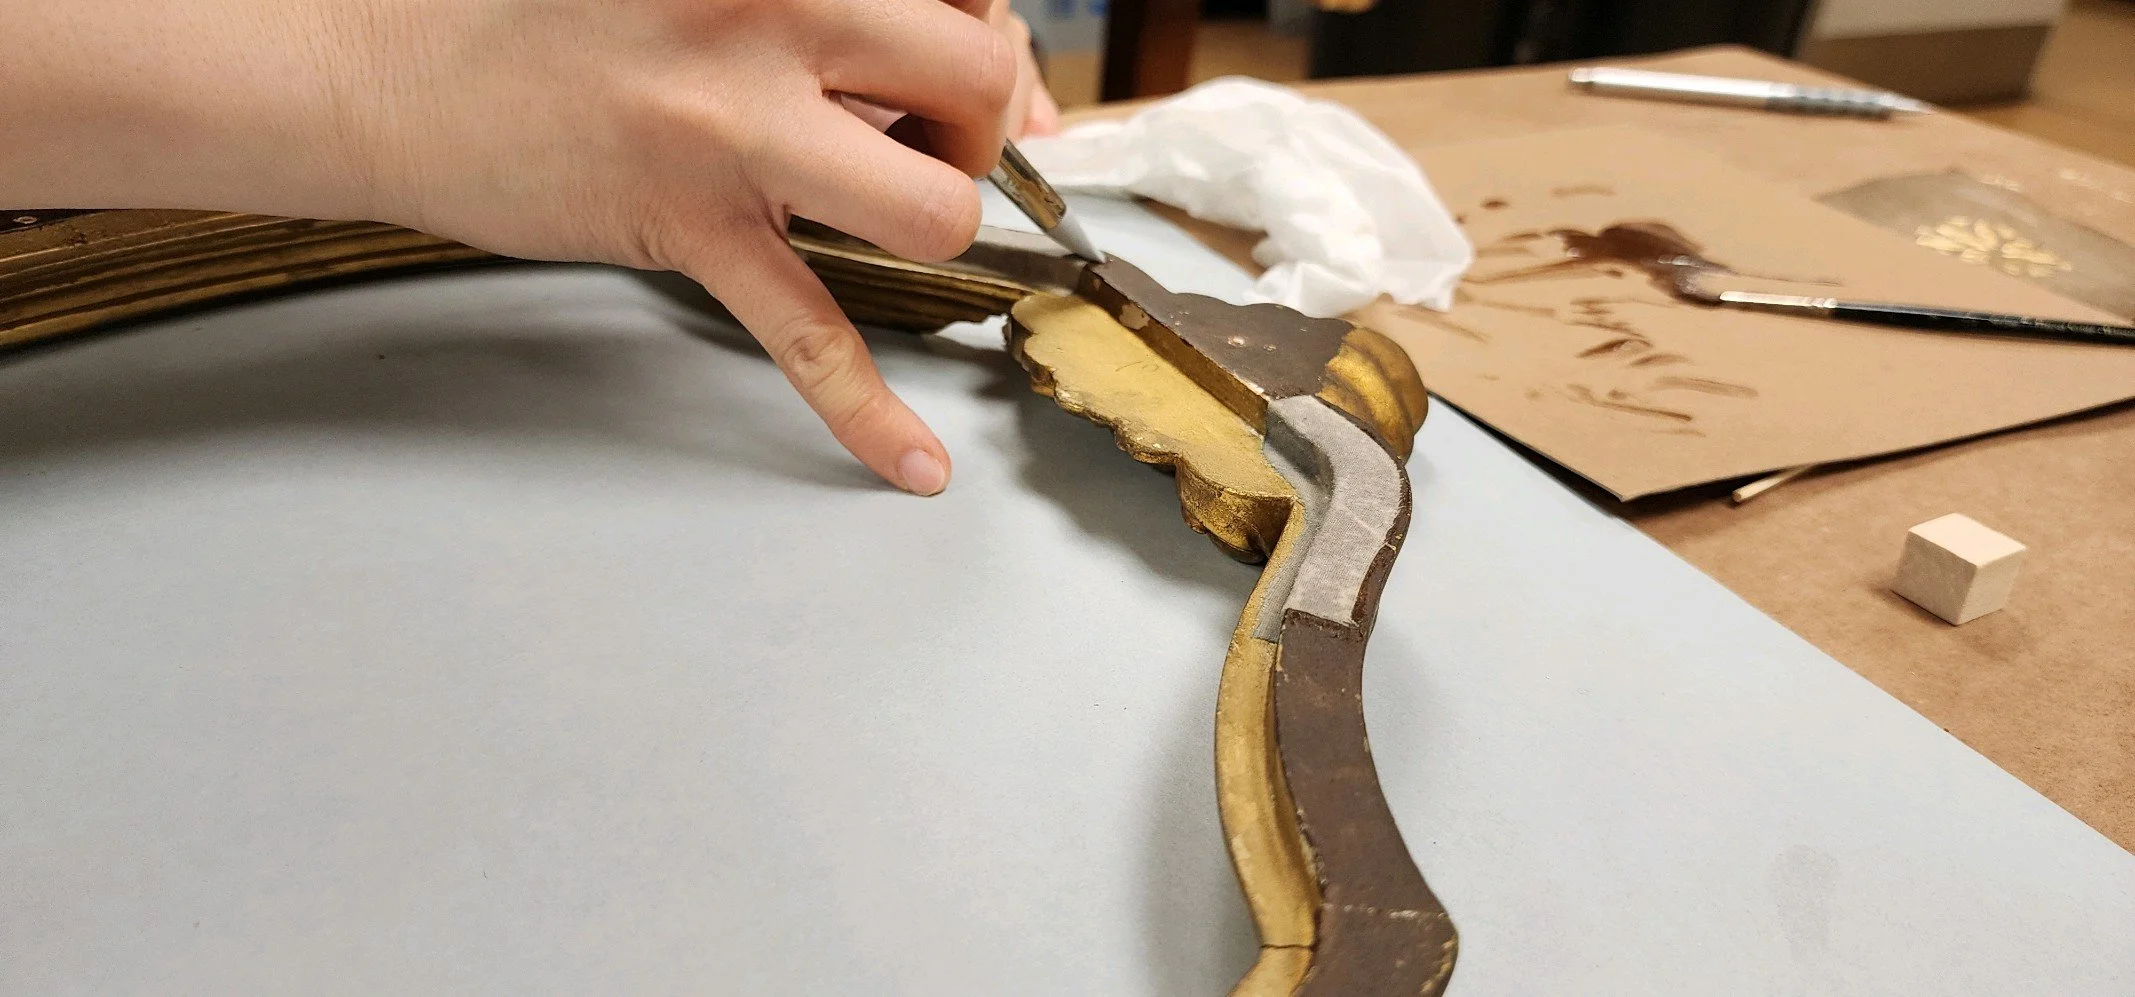
Tacking down the muslin strip and squeezing out excess hide glue with a silicone applicator. Blue corrosion beginning to appear. (Photo: David Piurek)
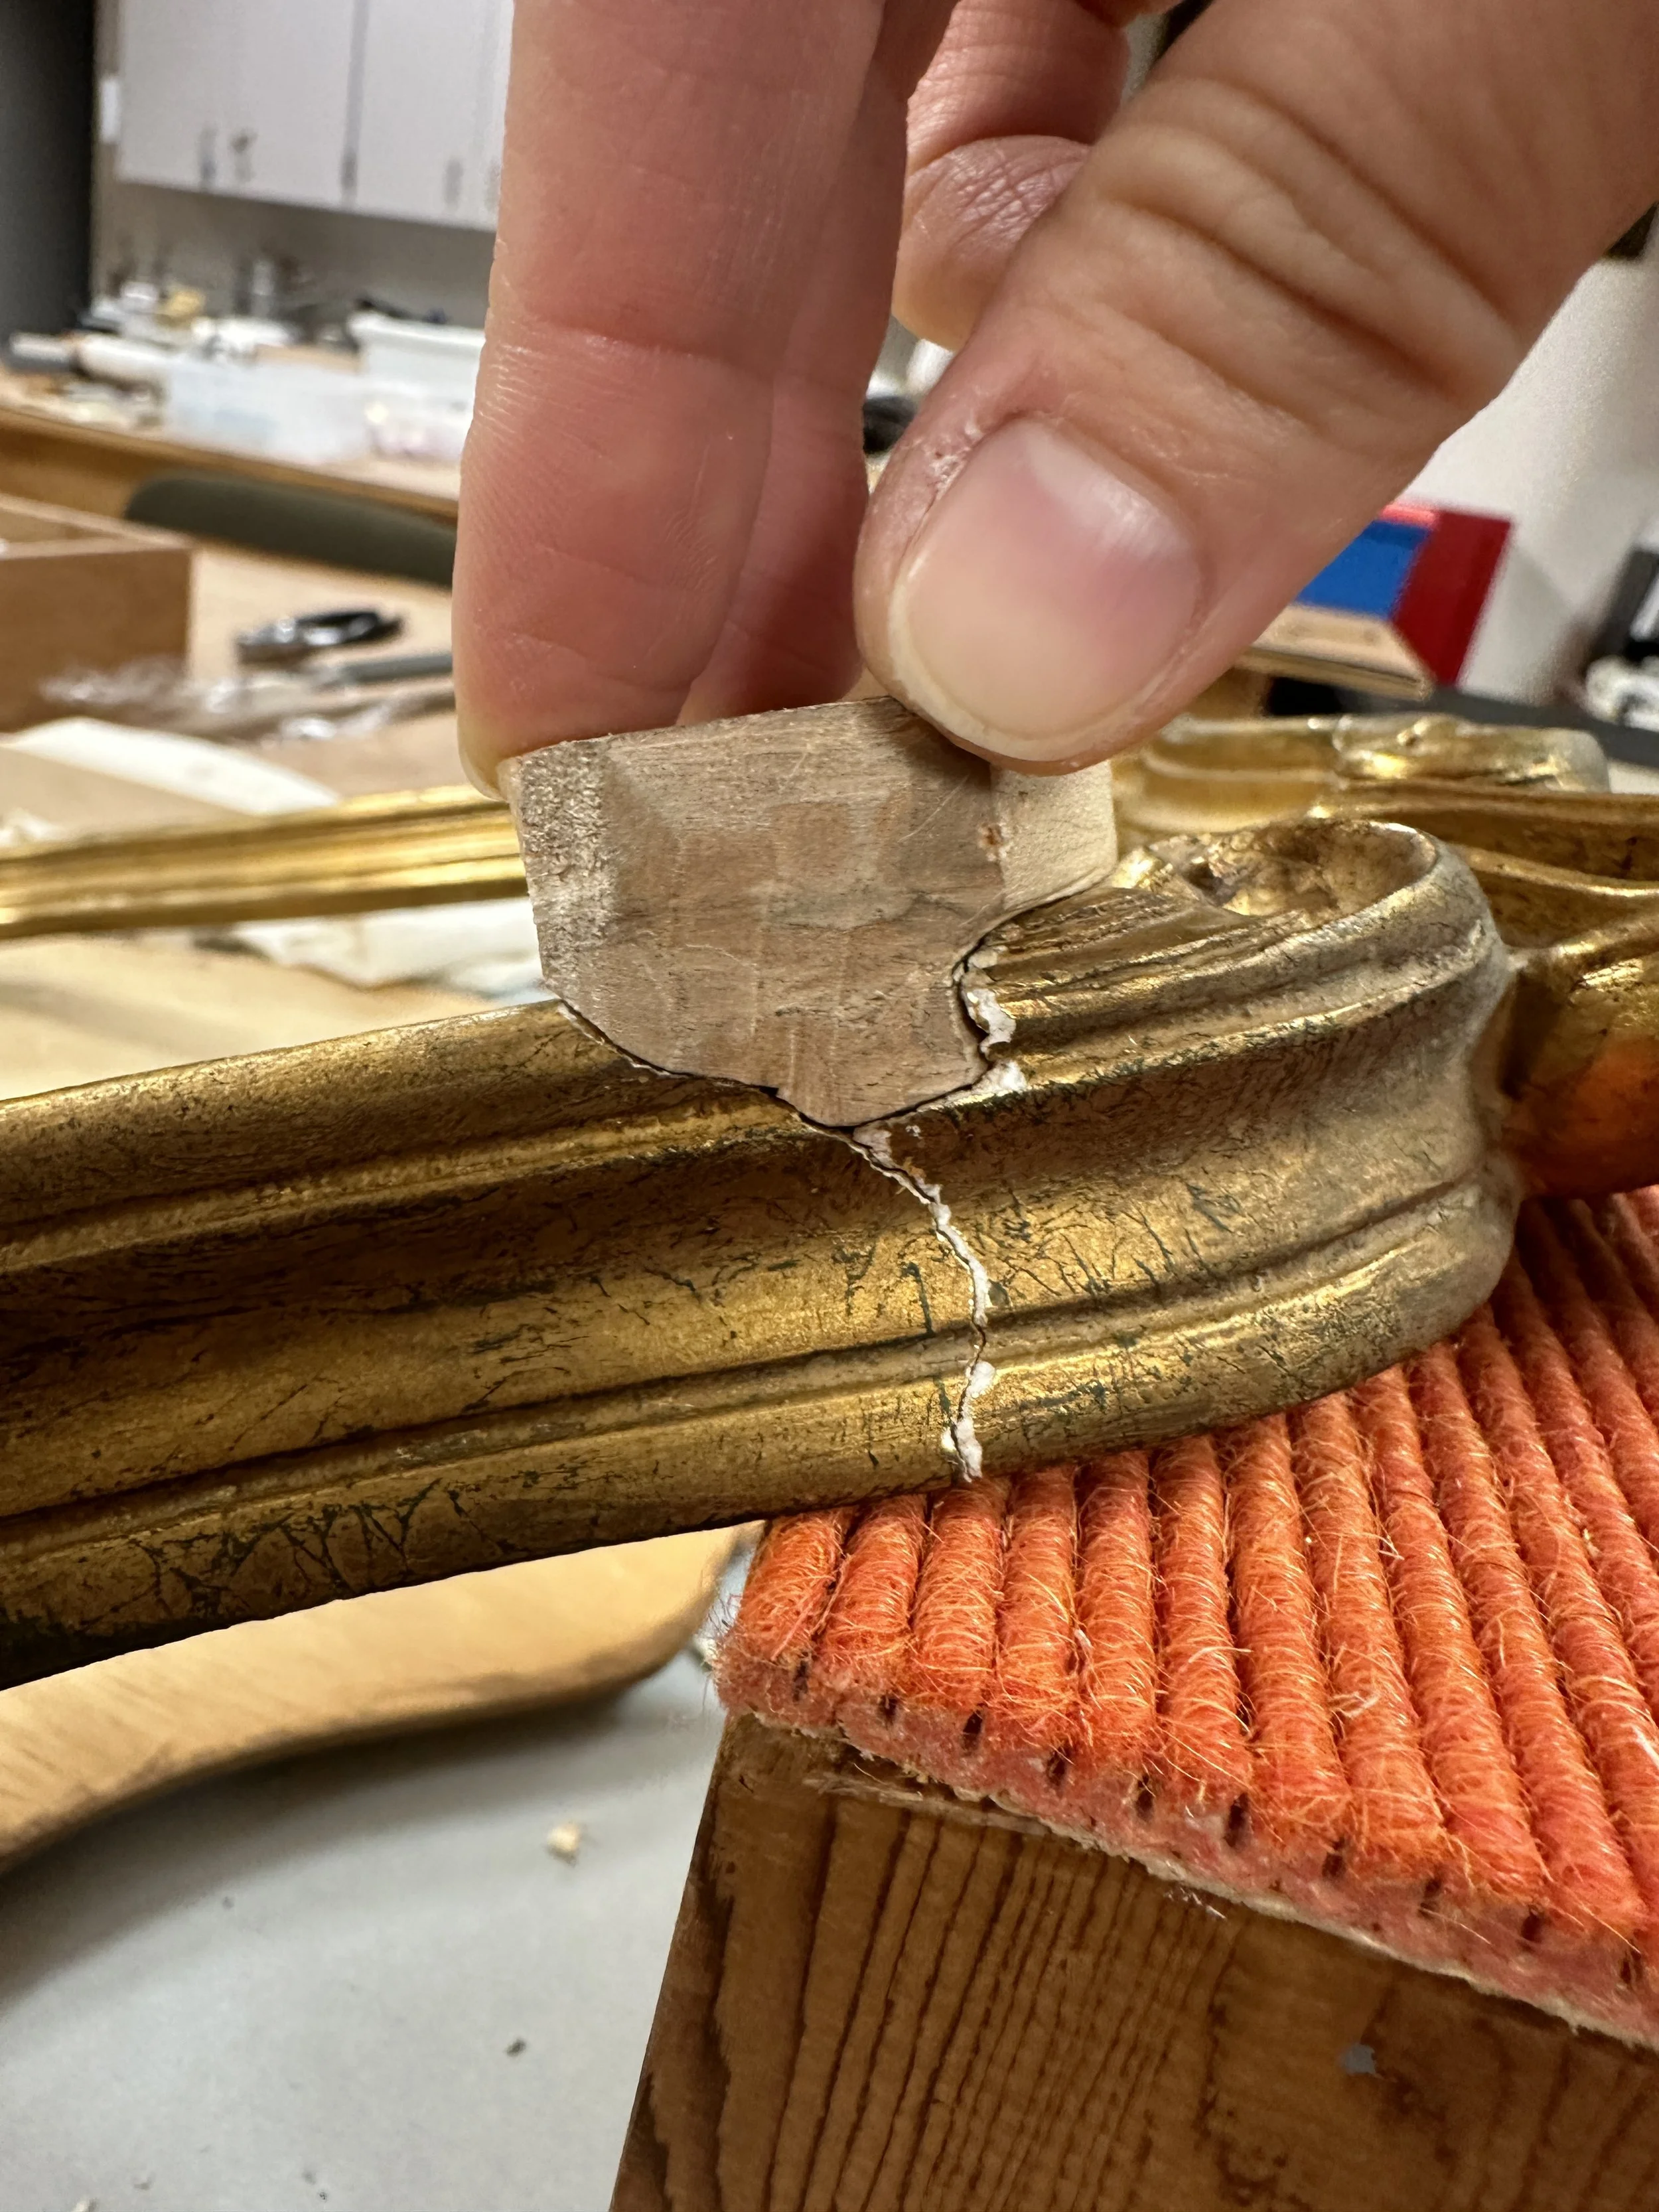
Testing the fit of the bass wood fill in the process of carving. (Photo: Jennifer Kim)
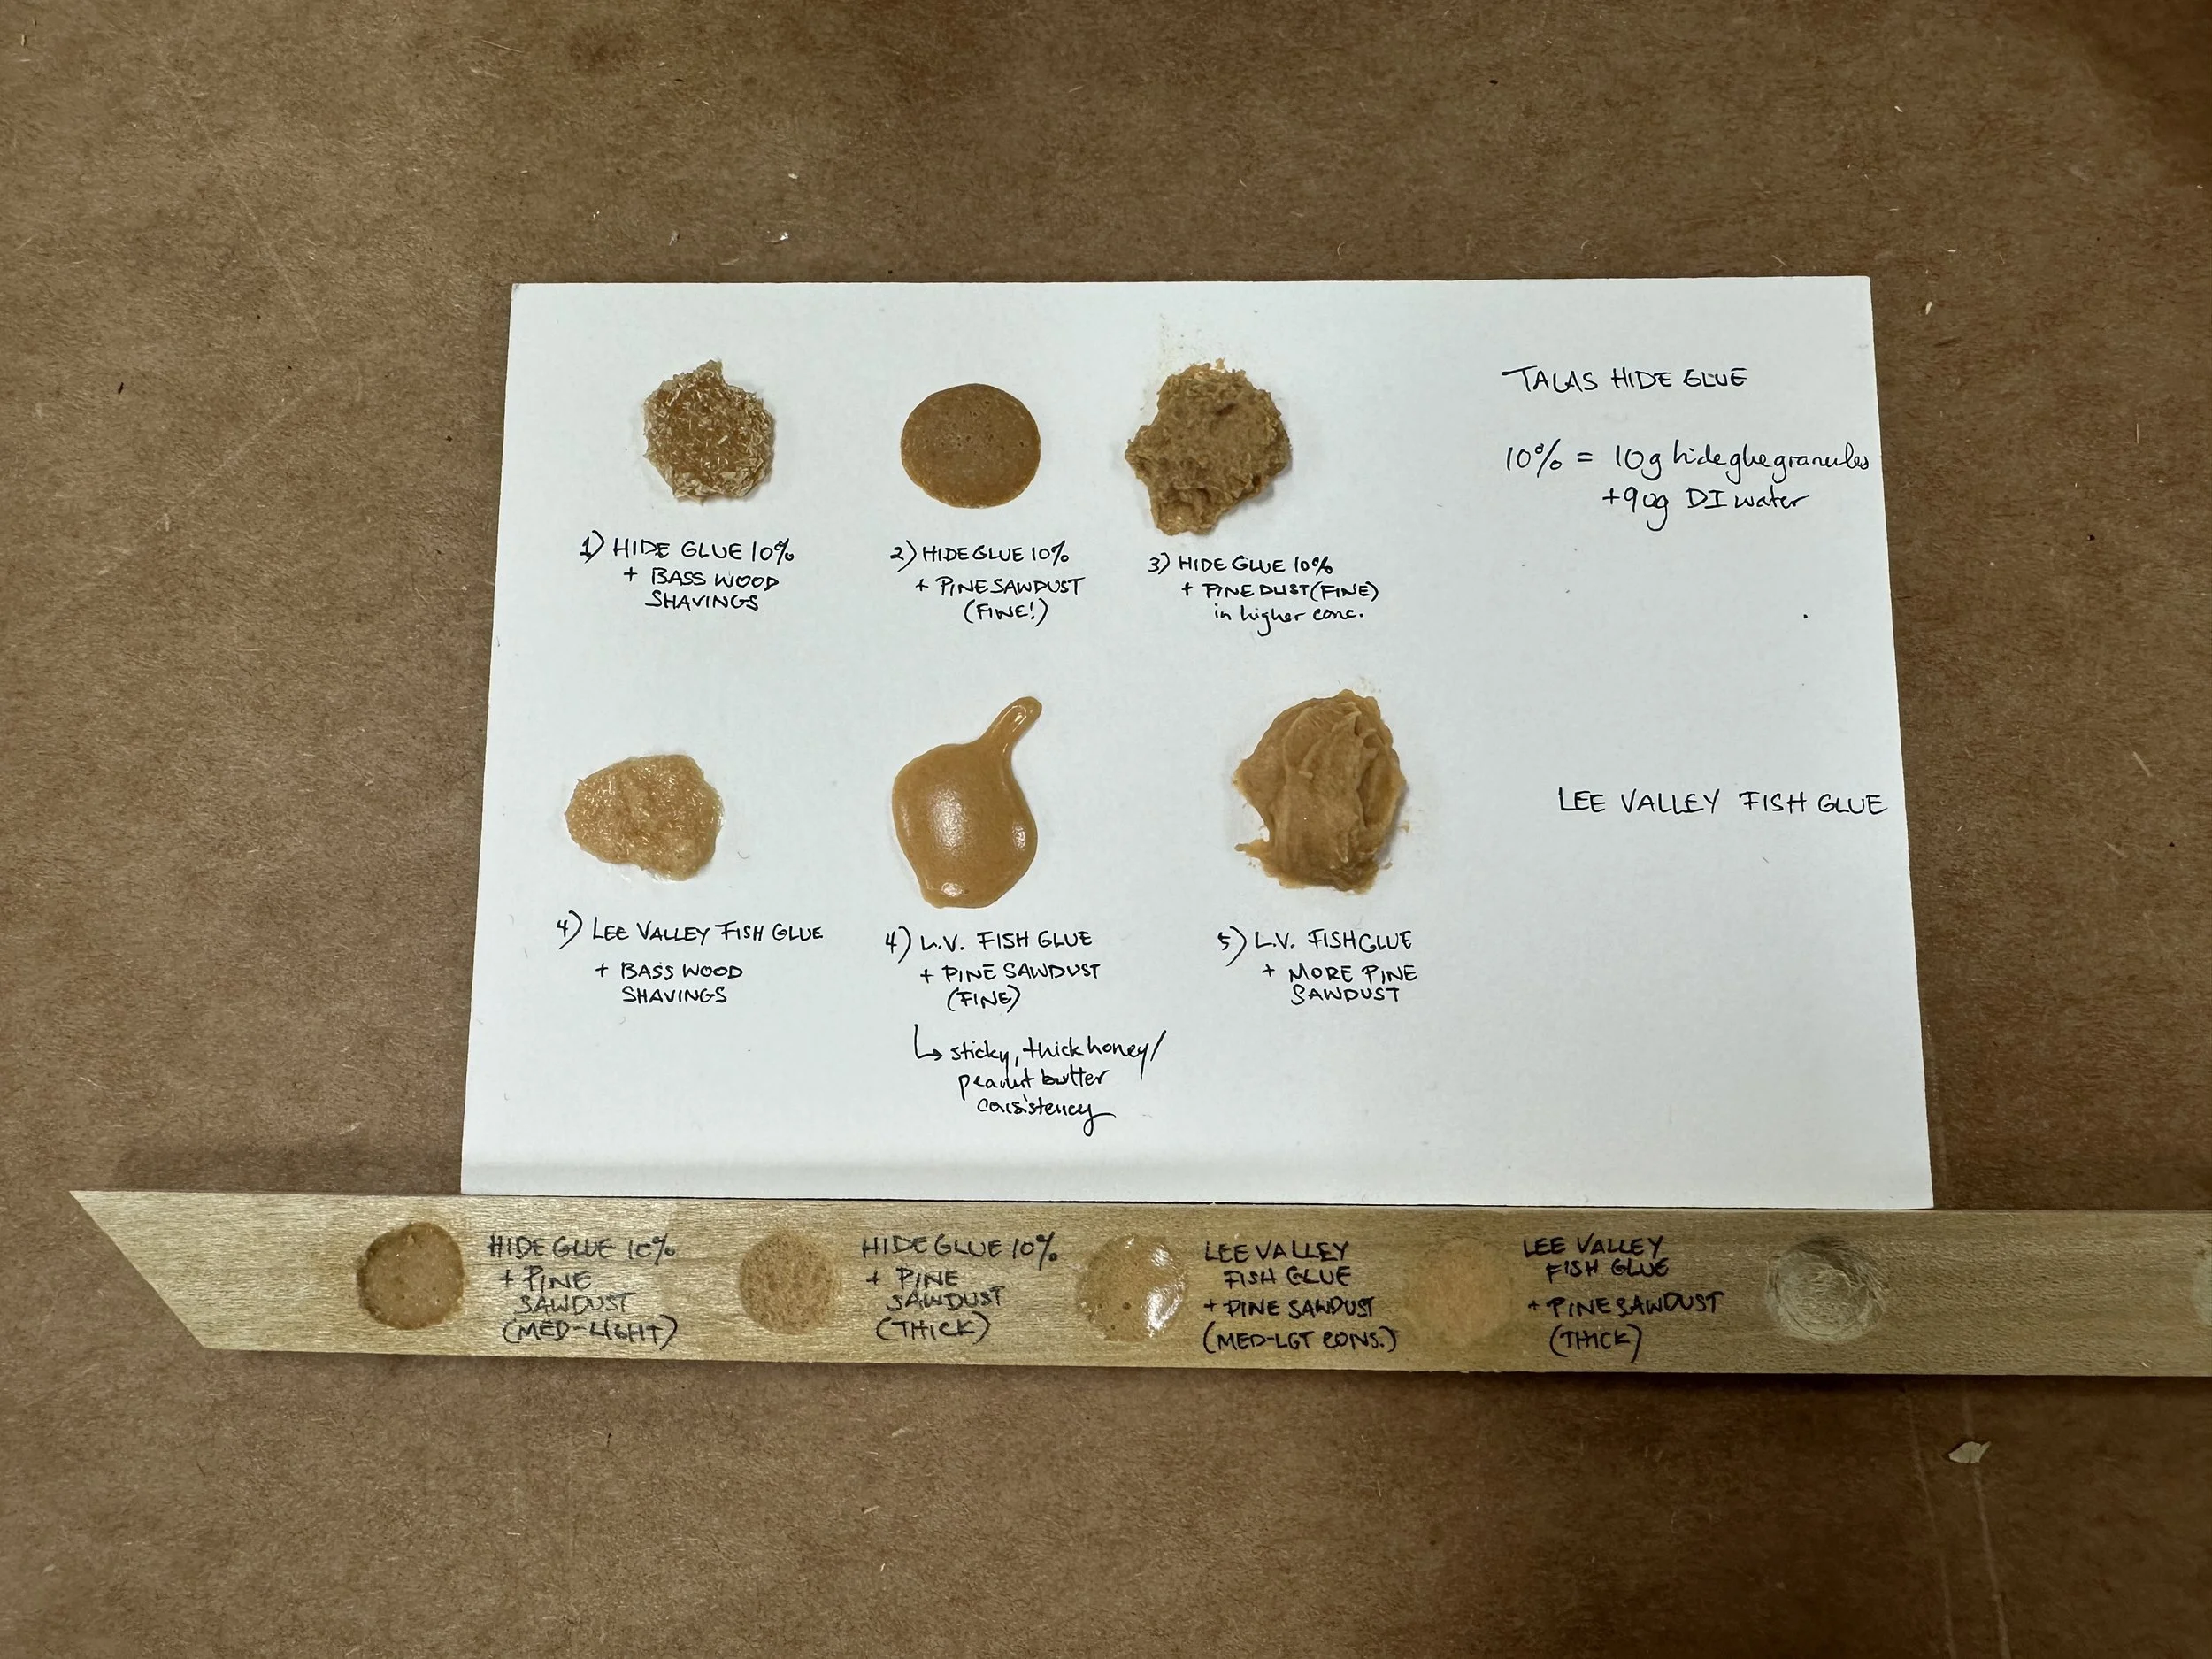
First set of sample cards and wells of bulked hide and fish glues. (Photo: Jennifer Kim)
Wood fill glued in with bulked fish glue. (Photo: Jennifer Kim)

Overall frame with finished Modostuc fills and some small areas of finished gilt fills. (Photo: Jennifer Kim)
Water gilding the fill. (Photo: Jennifer Kim)
Gilt fill after skewing and gentle burnishing. (Photo: Jennifer Kim)
Toning the gilt fill. (Photo: Jennifer Kim)
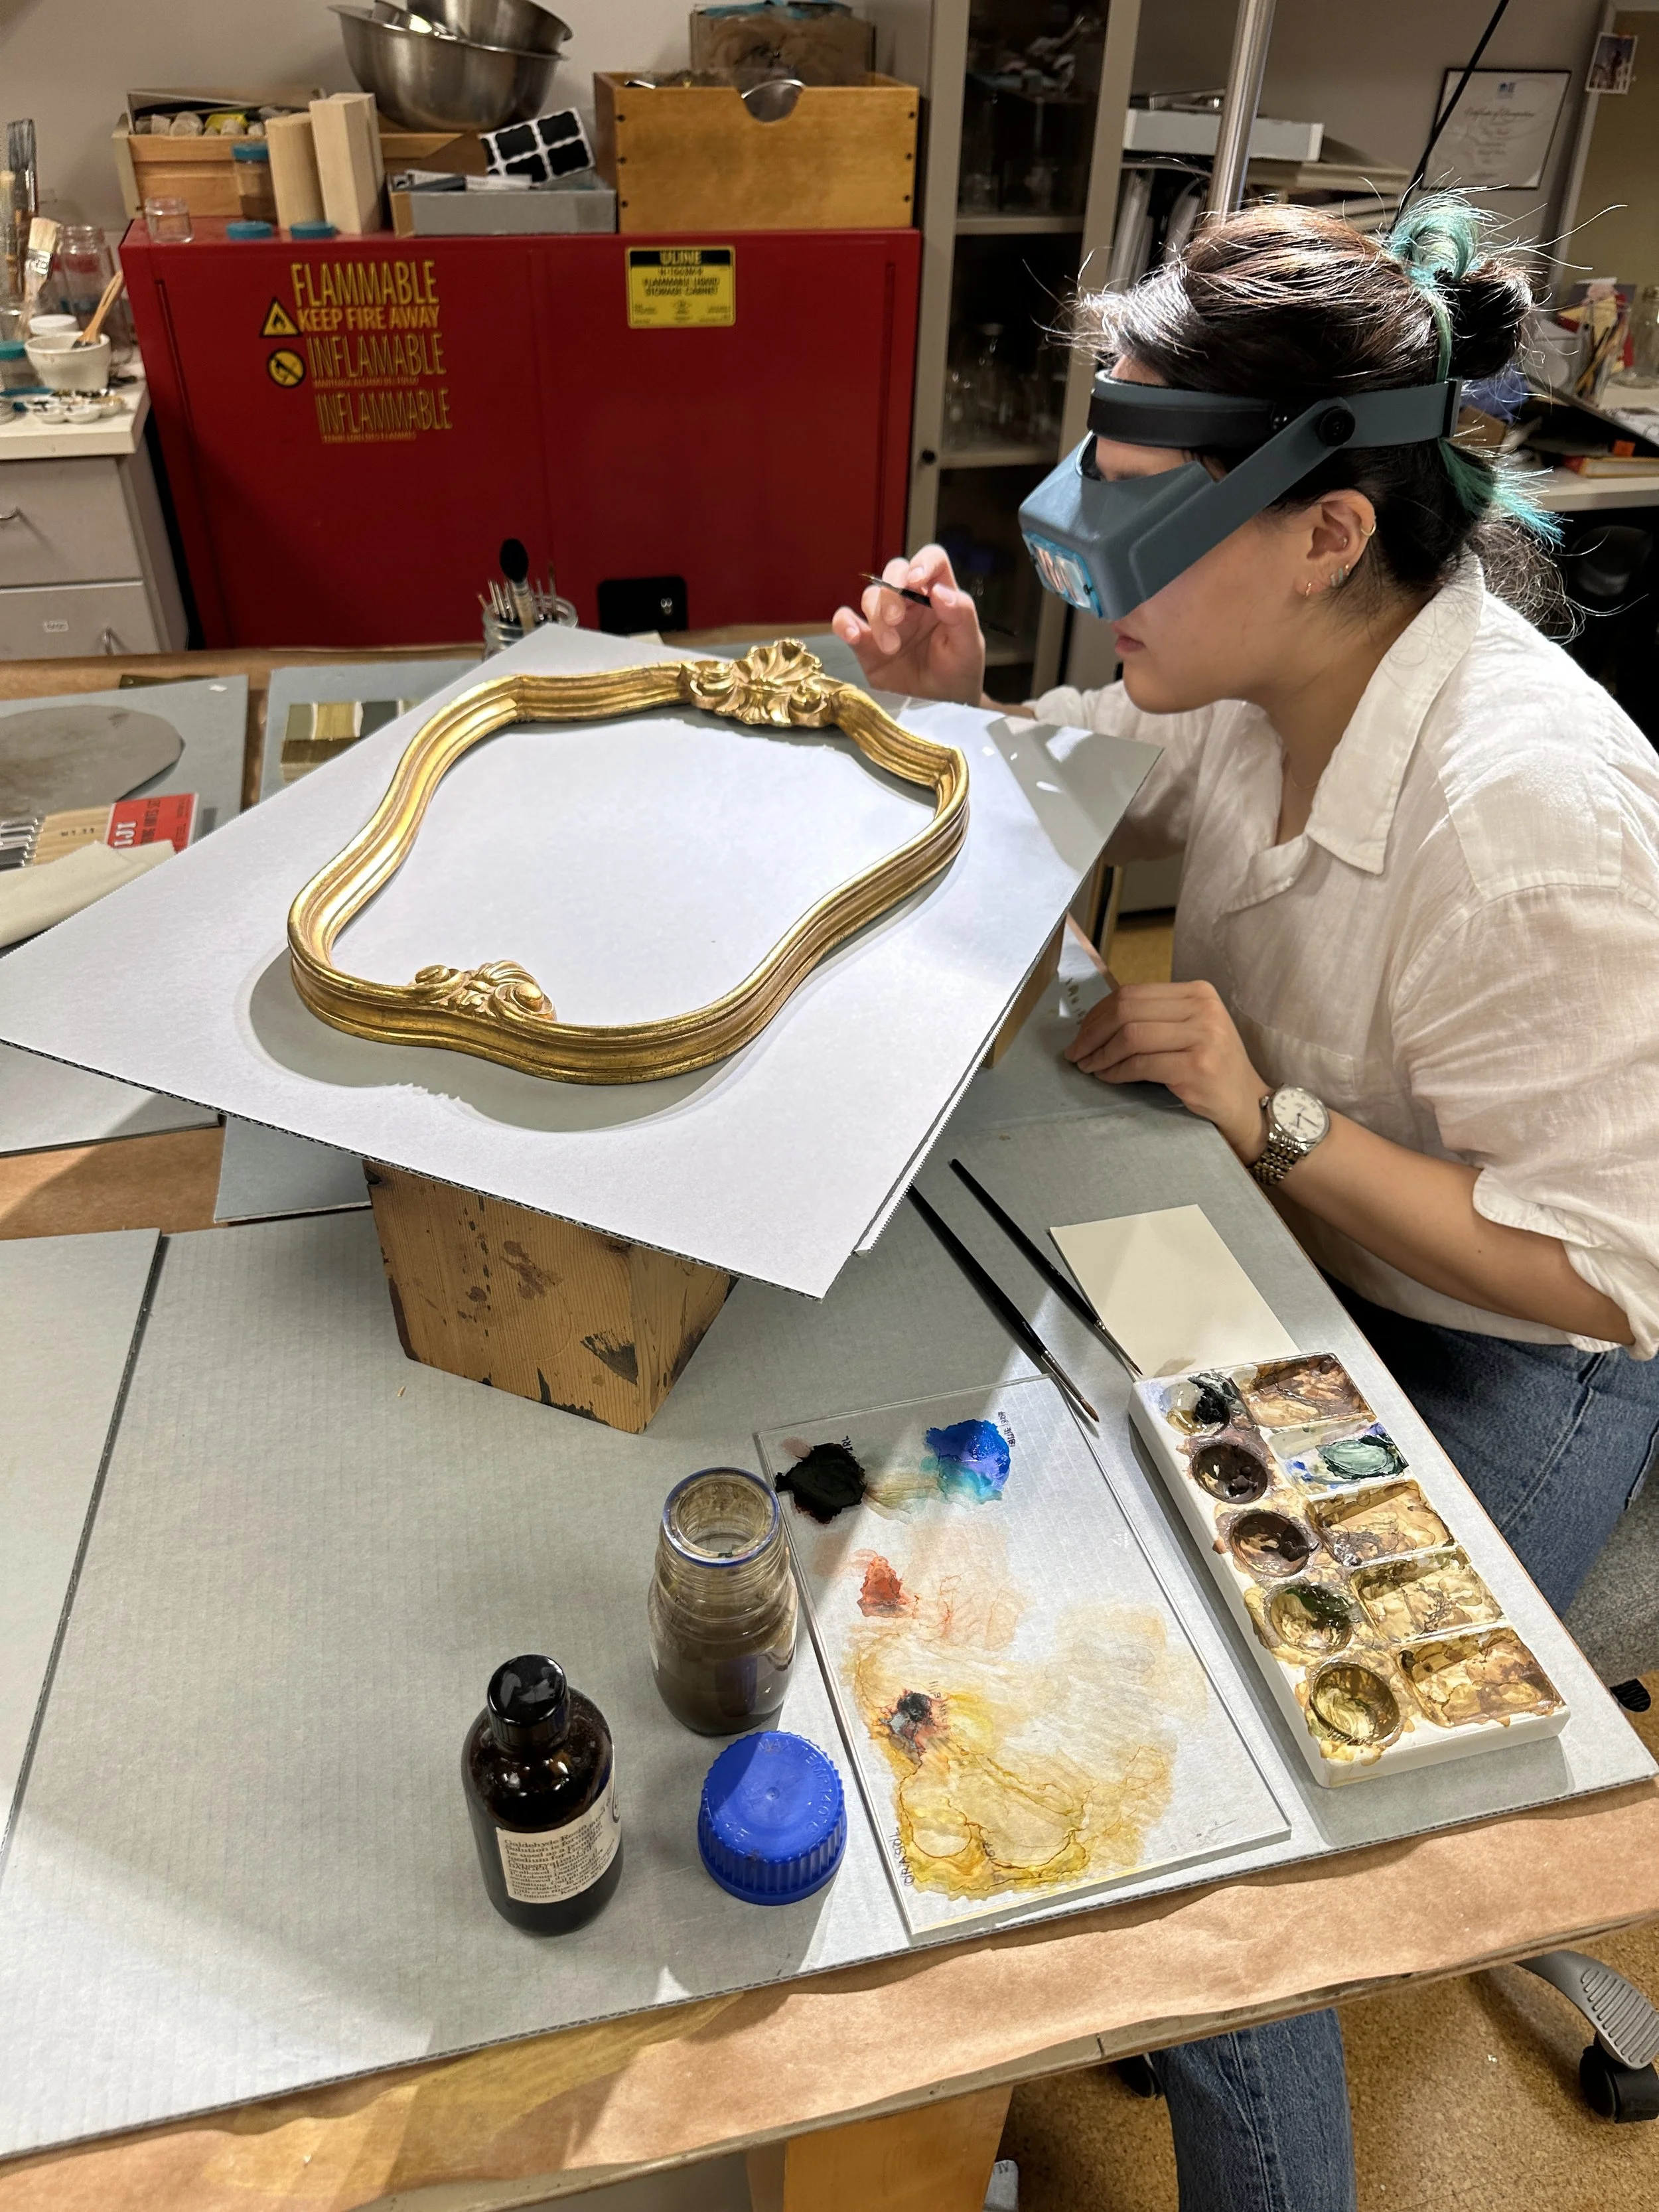
Toning and inpainting the gilt fill. (Photo: Kay Horak)
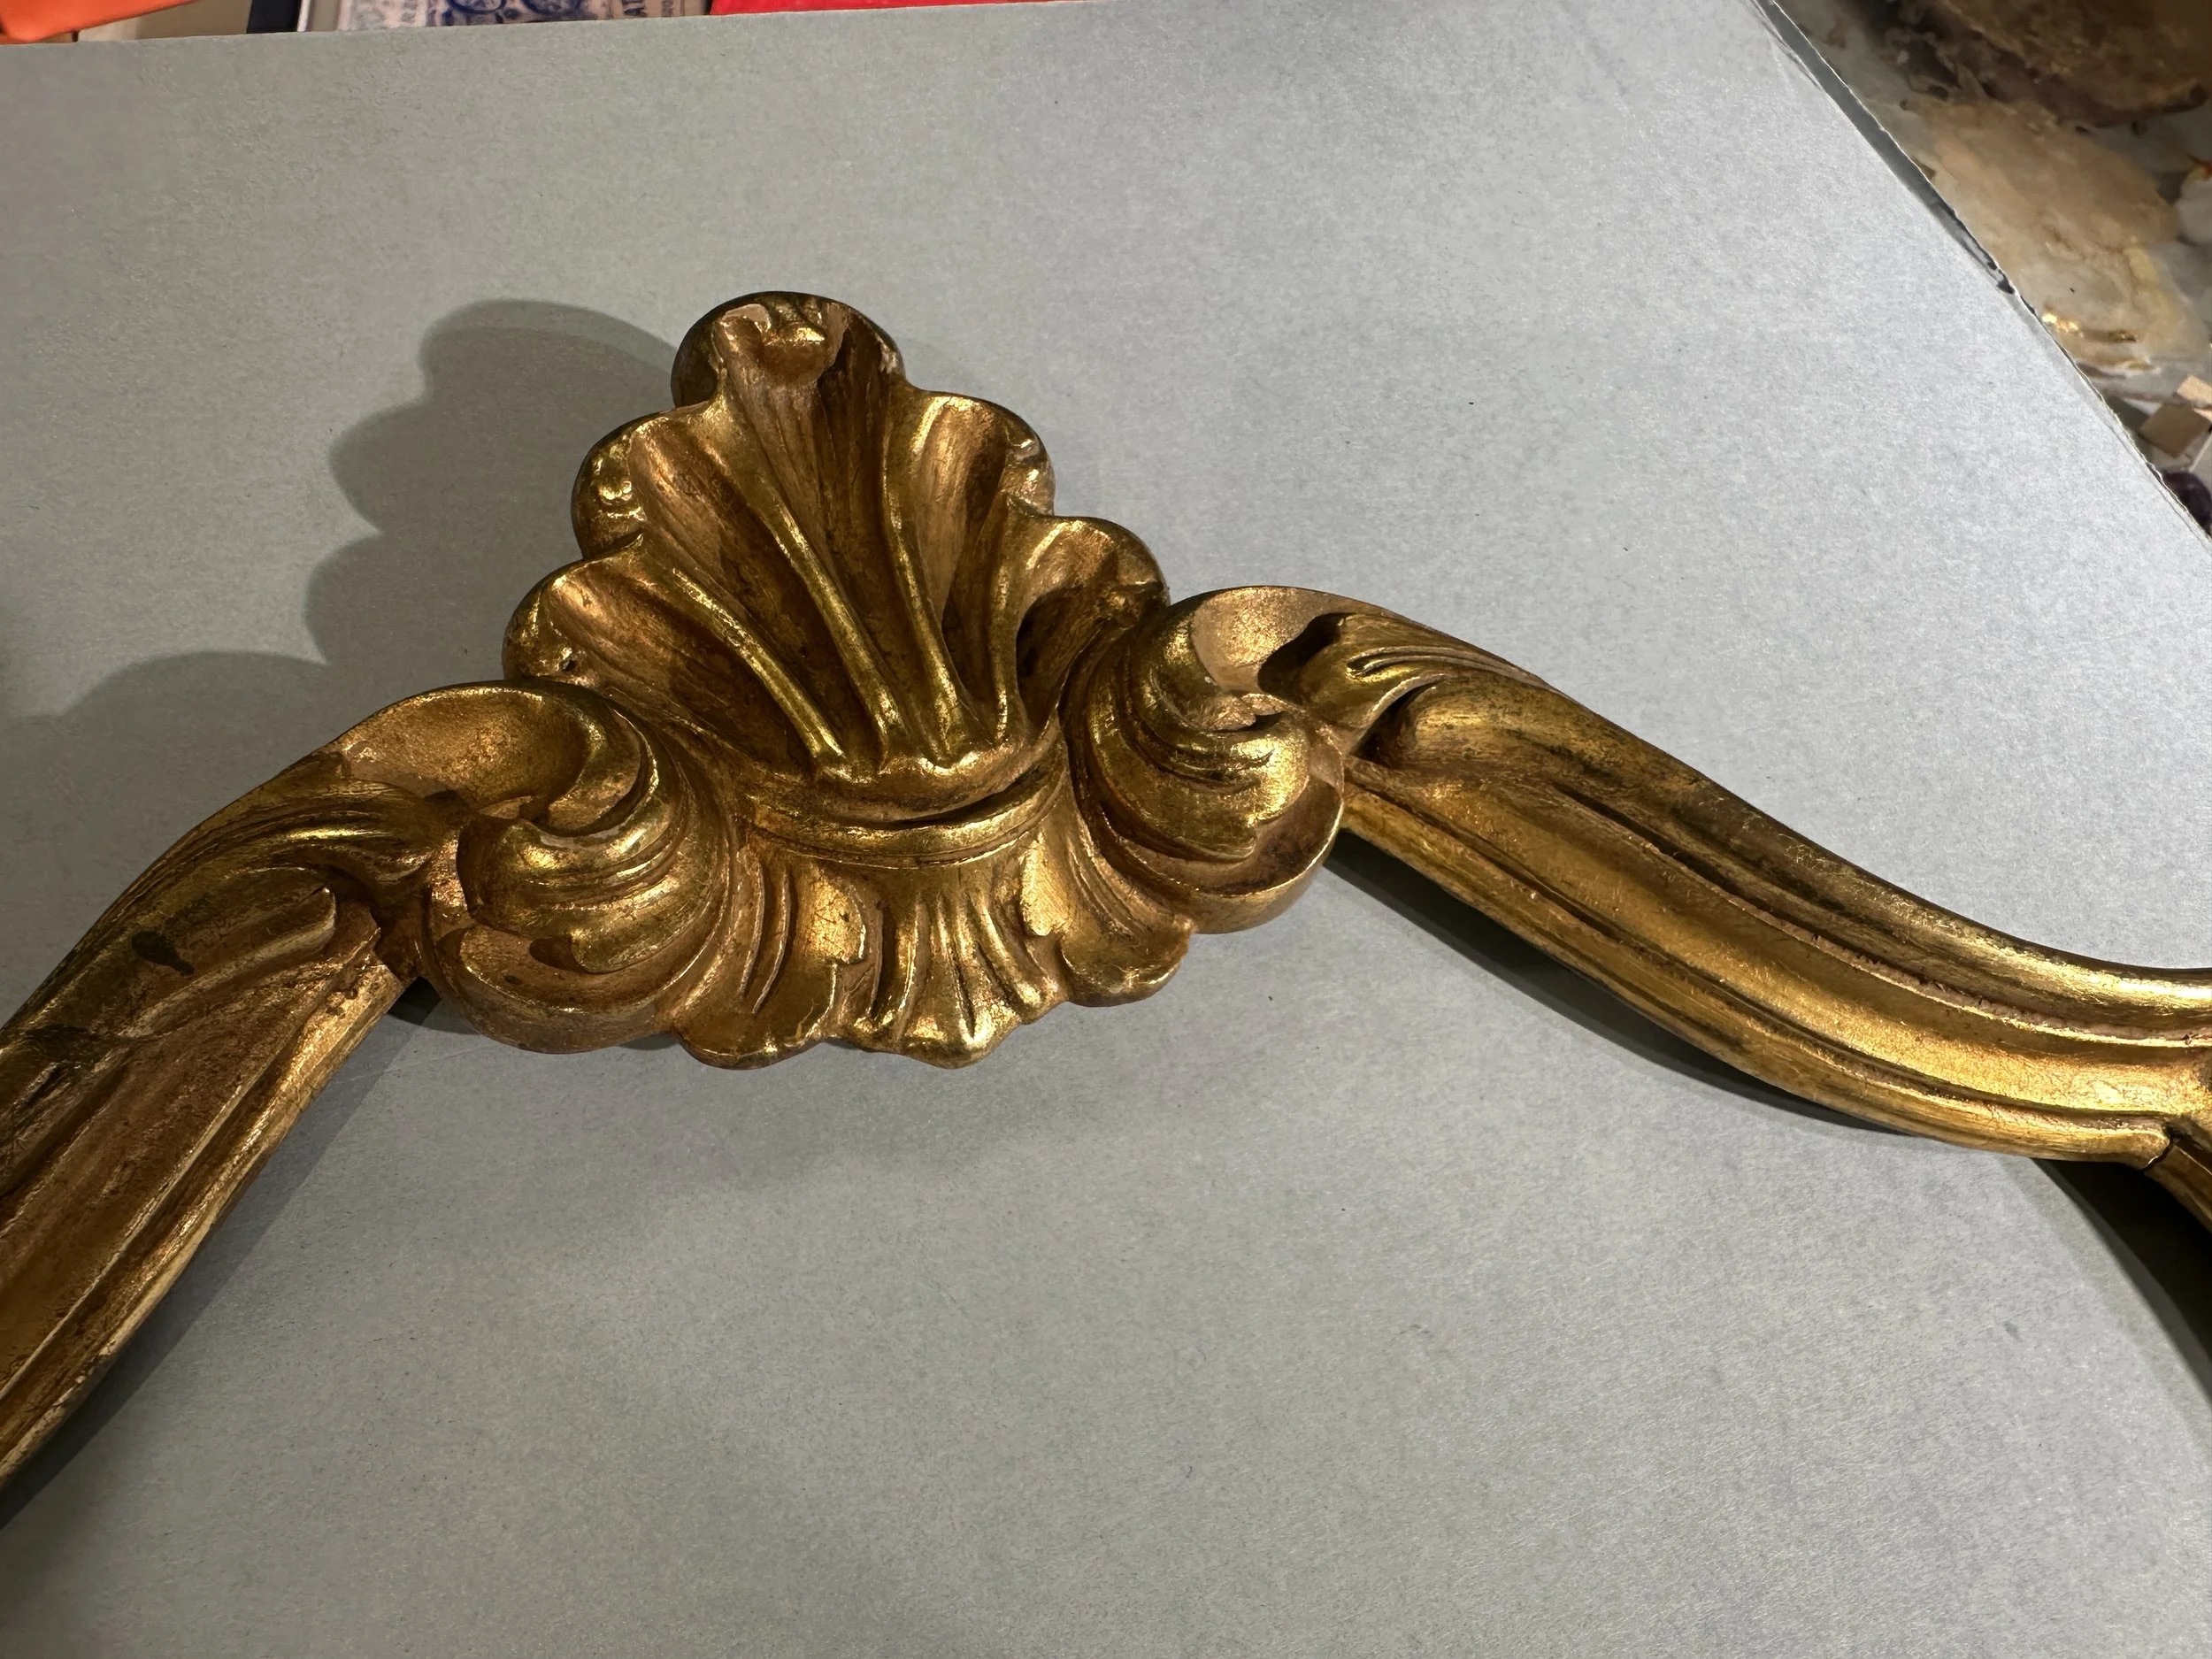
Large fill after toning + inpainting. (Photo: Jennifer Kim)
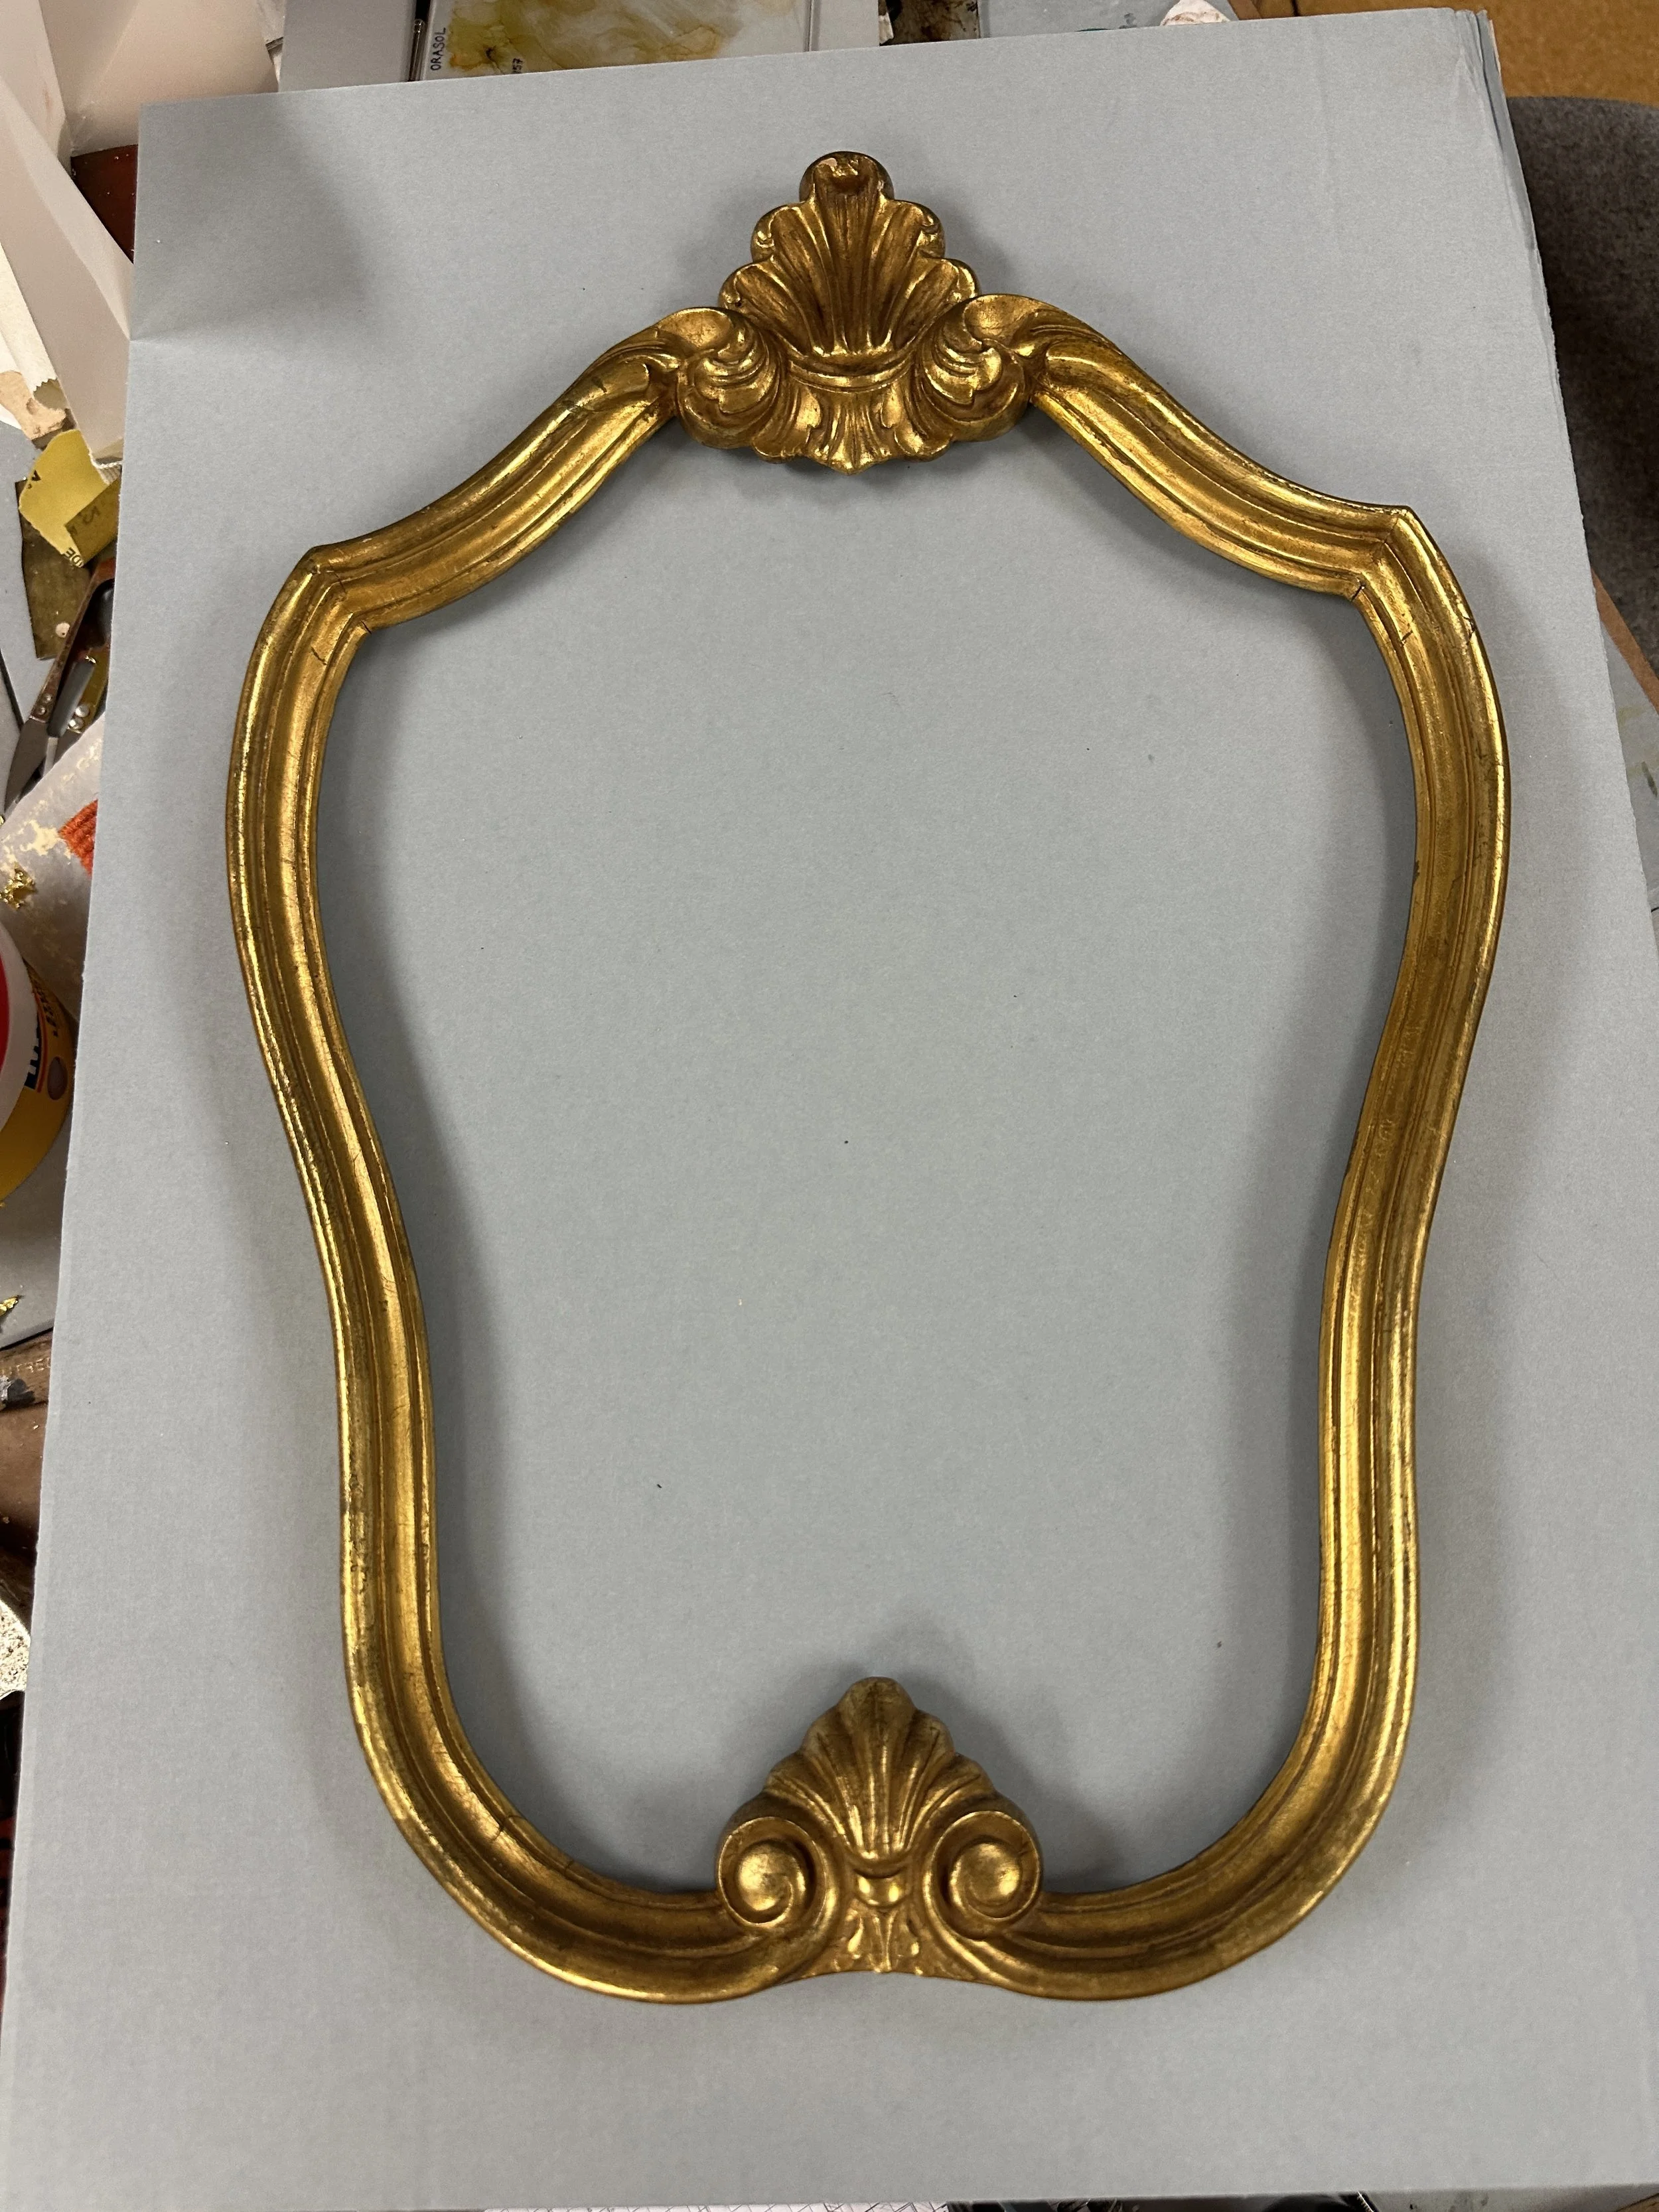
Finished frame. (Photo: Jennifer Kim)